Create a Floor Plan
Draw a Room
- Click on the "BUILD" tab.
- Click on the "Exterior Wall" or "Interior Wall" drawing tool.
- Click your mouse (on a tablet tap your finger) where each corner of the room will be.
- The room will snap together once you click all corners of the room and end by clicking on the starting point.
- Click on the "BUILD" tab.
- Click and drag your mouse (on a tablet tap and hold your finger) where the top left corner of the Room will be located down to the bottom right corner. As you drag your mouse, the dimensions of the room will appear.
Upload and Scale a Floor Plan
To upload the floor plan image (accepts PDF, PNG and JPEG files):
- While in the "2D Plan" view, click on the "BACKGROUND IMAGE" tab.
- Click the "Select a File" button.
- Locate the image on your computer, select it, and click the "Upload" button.
- Click on the "Lock" icon to lock the image in place.
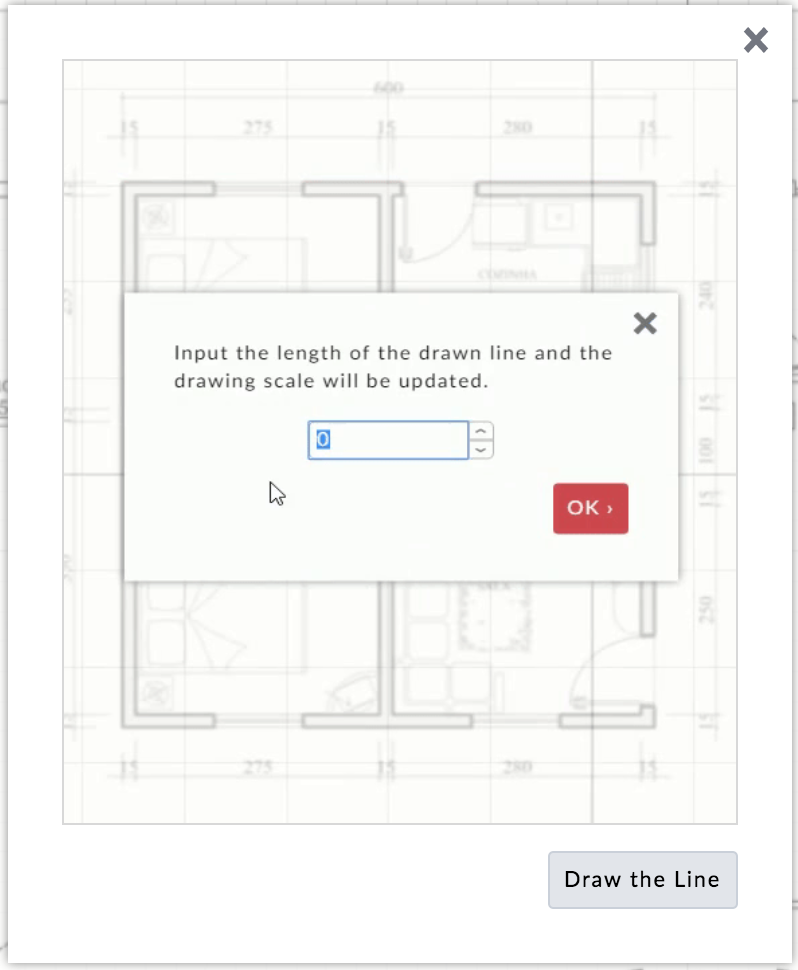
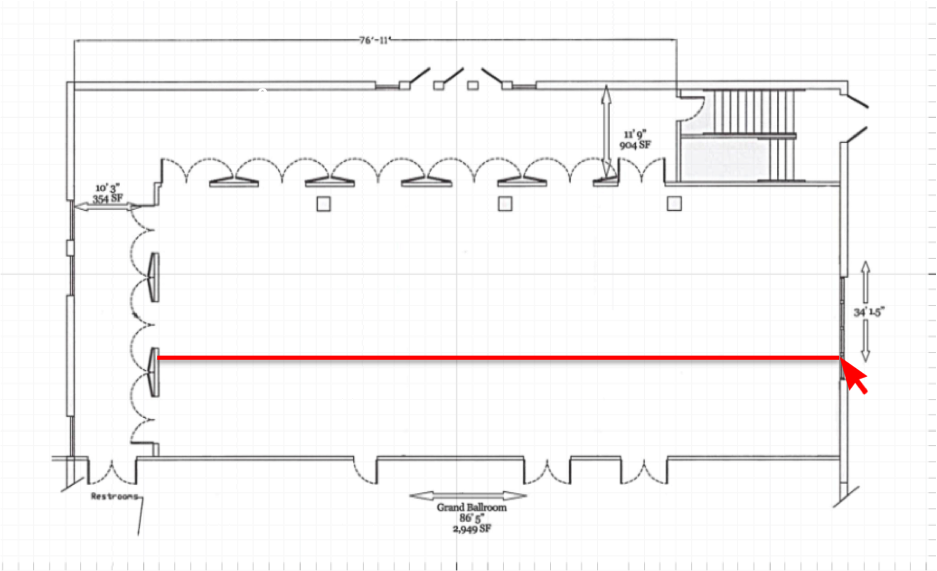
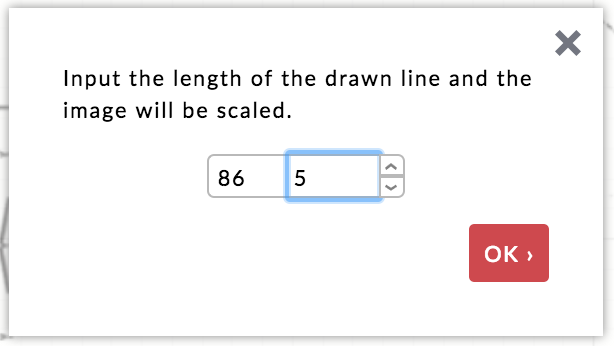
- Click the "Scale" button to begin scaling the image and then click the "Draw the Line" button.
- Draw a line the length of one of the walls by left click your mouse (on a tablet tap your finger) two (2) times: 1) At the start of the wall and 2) Again at the end of the wall.
- lnsert the actual wall dimension and the image is now scaled.
- Click on the "BUILD" tab.
- Click on one of the wall drawing tool to begin drawing the walls by tracing over the image.
- Left click your mouse (on a tablet tap your finger) where each corner of the room will be located.
- The room will snap together once you click all corners of the room and end by clicking on the starting point.
To scale the image that you uploaded:
To turn the image into a 3D room:
* Tip: This feature has two (2) purposes: 1) 2D Architectural Floor Plans – Upload a 2D architectural floor plan to easily trace over and create a 3D floor plan and 2) Flooring – Upload a flooring image or pattern to view in both 2D and 3D).
Delete a Room
- Click on the "Select" tool located at the top in the black navigation bar.
- Draw a box around the entire room (each new floor plan opens with a default room).
- Click the Delete button in the Group Selection Properties window located on the right or click the Delete button on your keyboard.
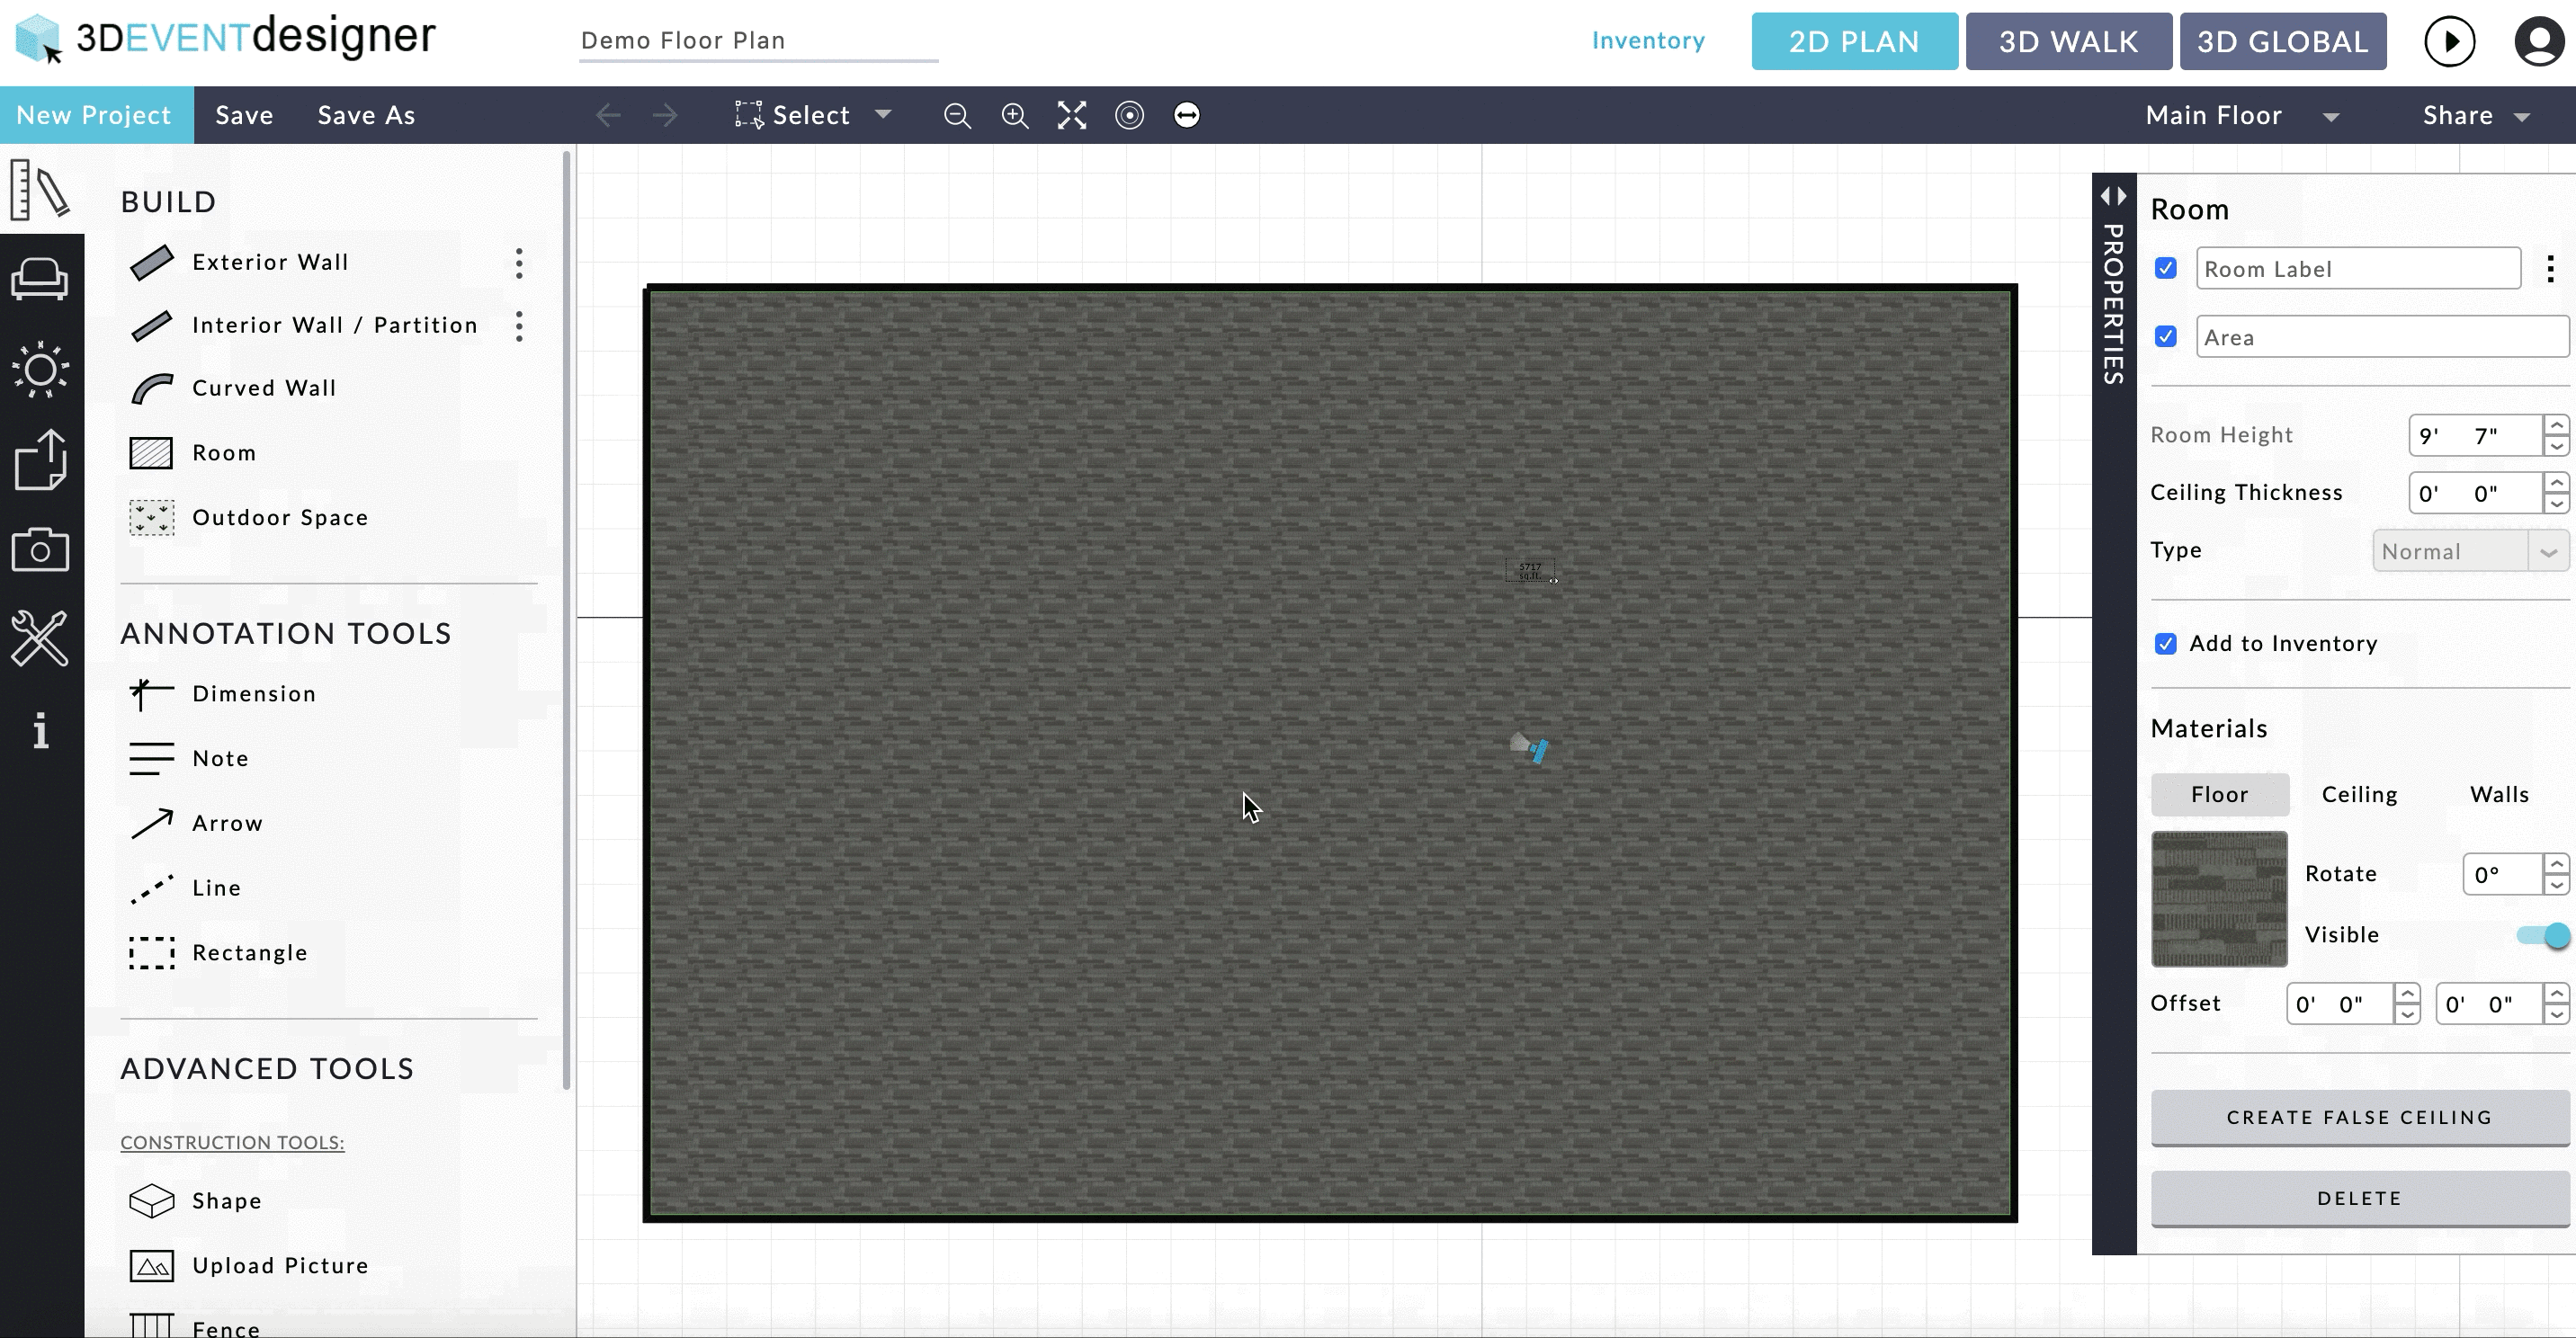
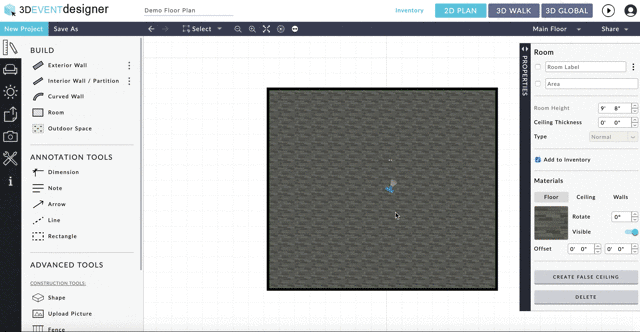
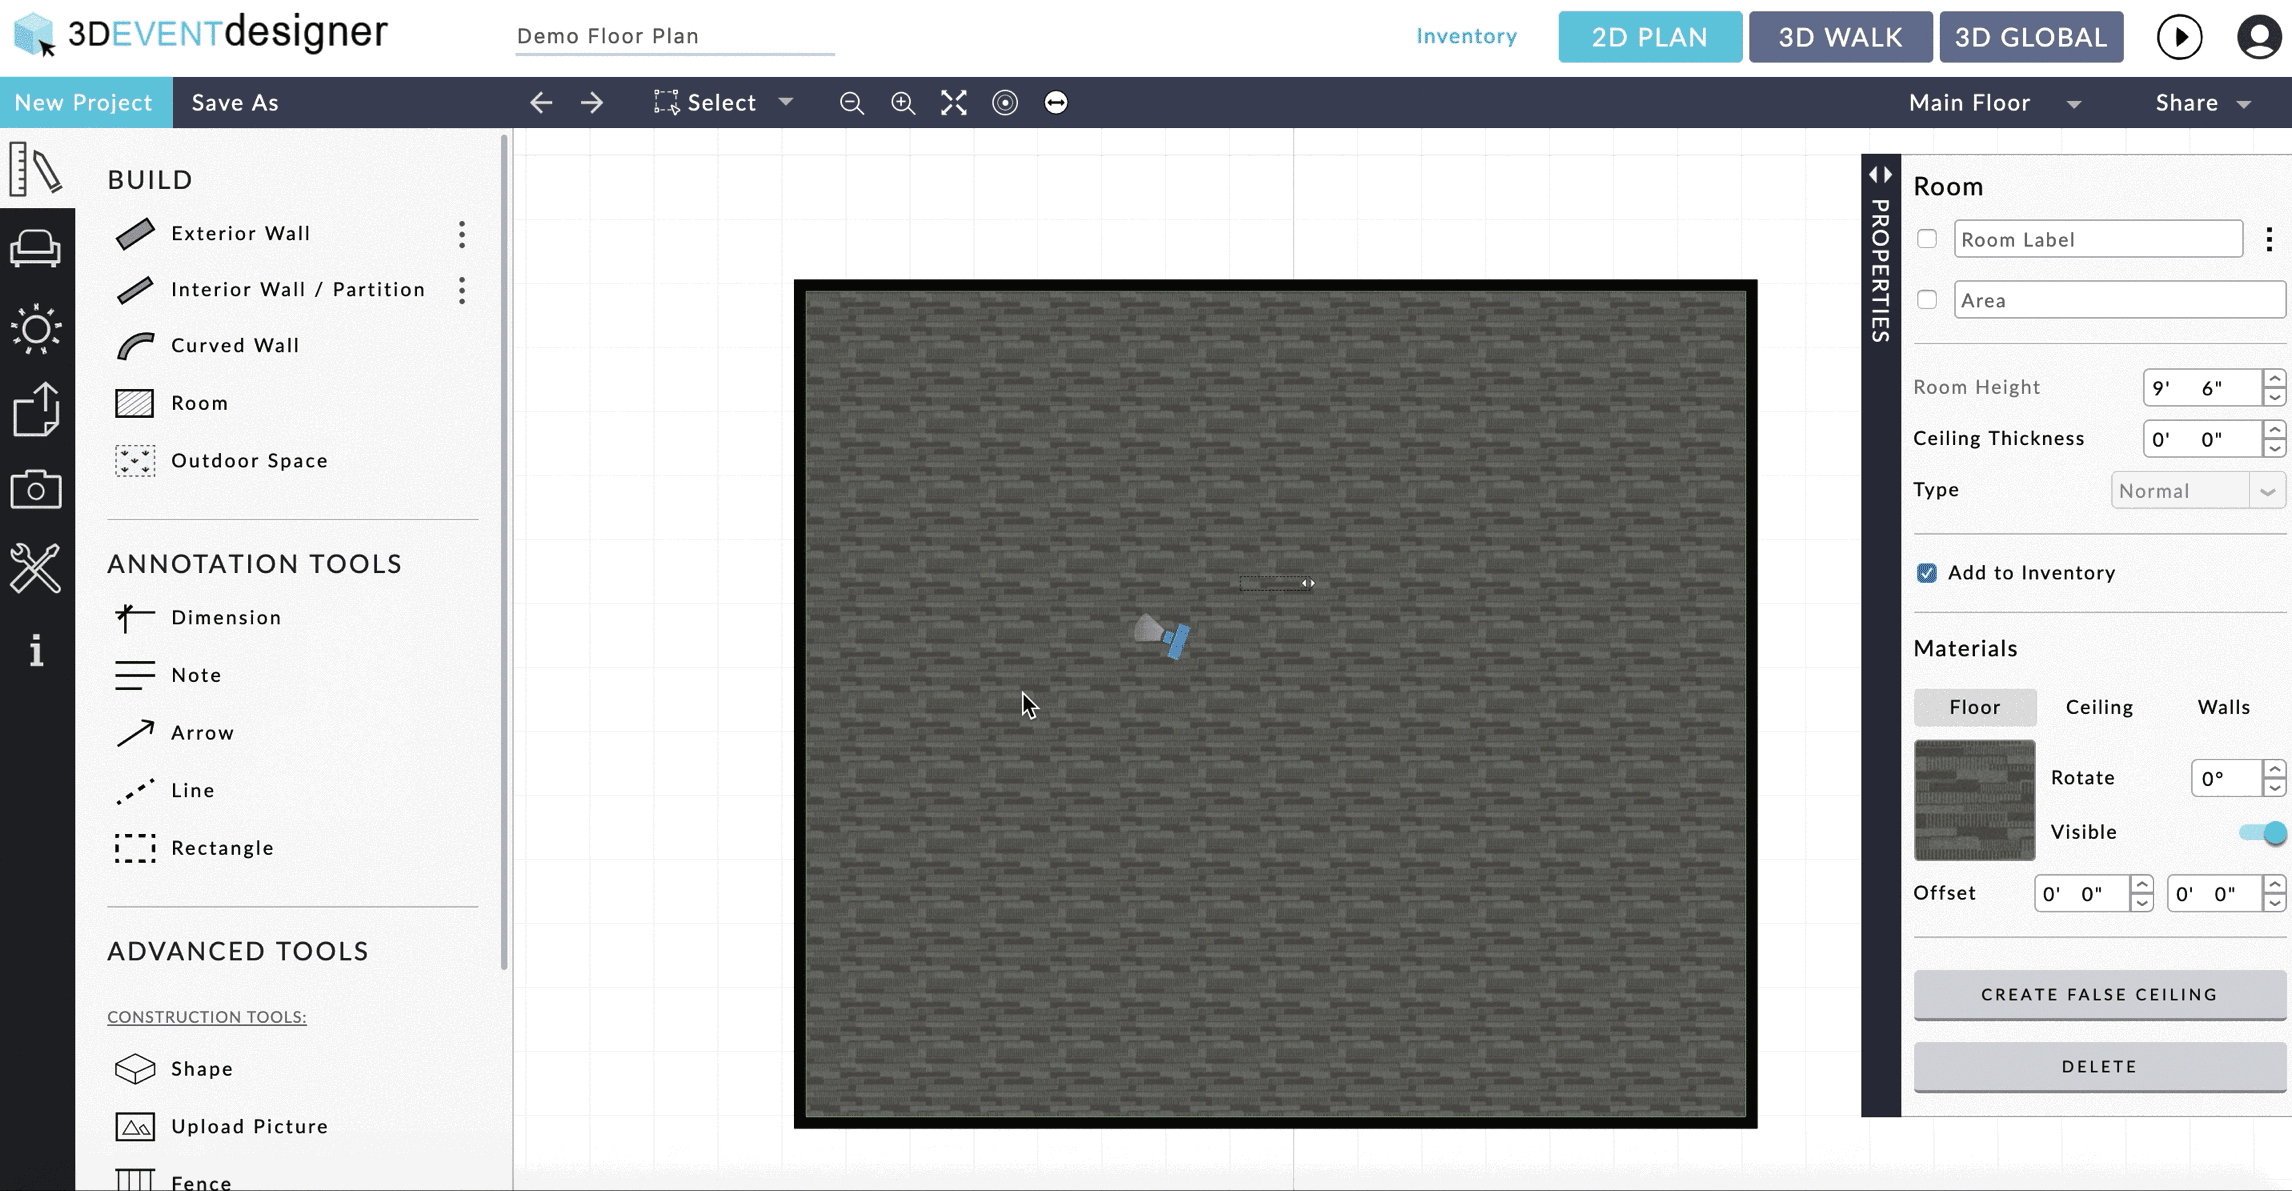
Change Room Height
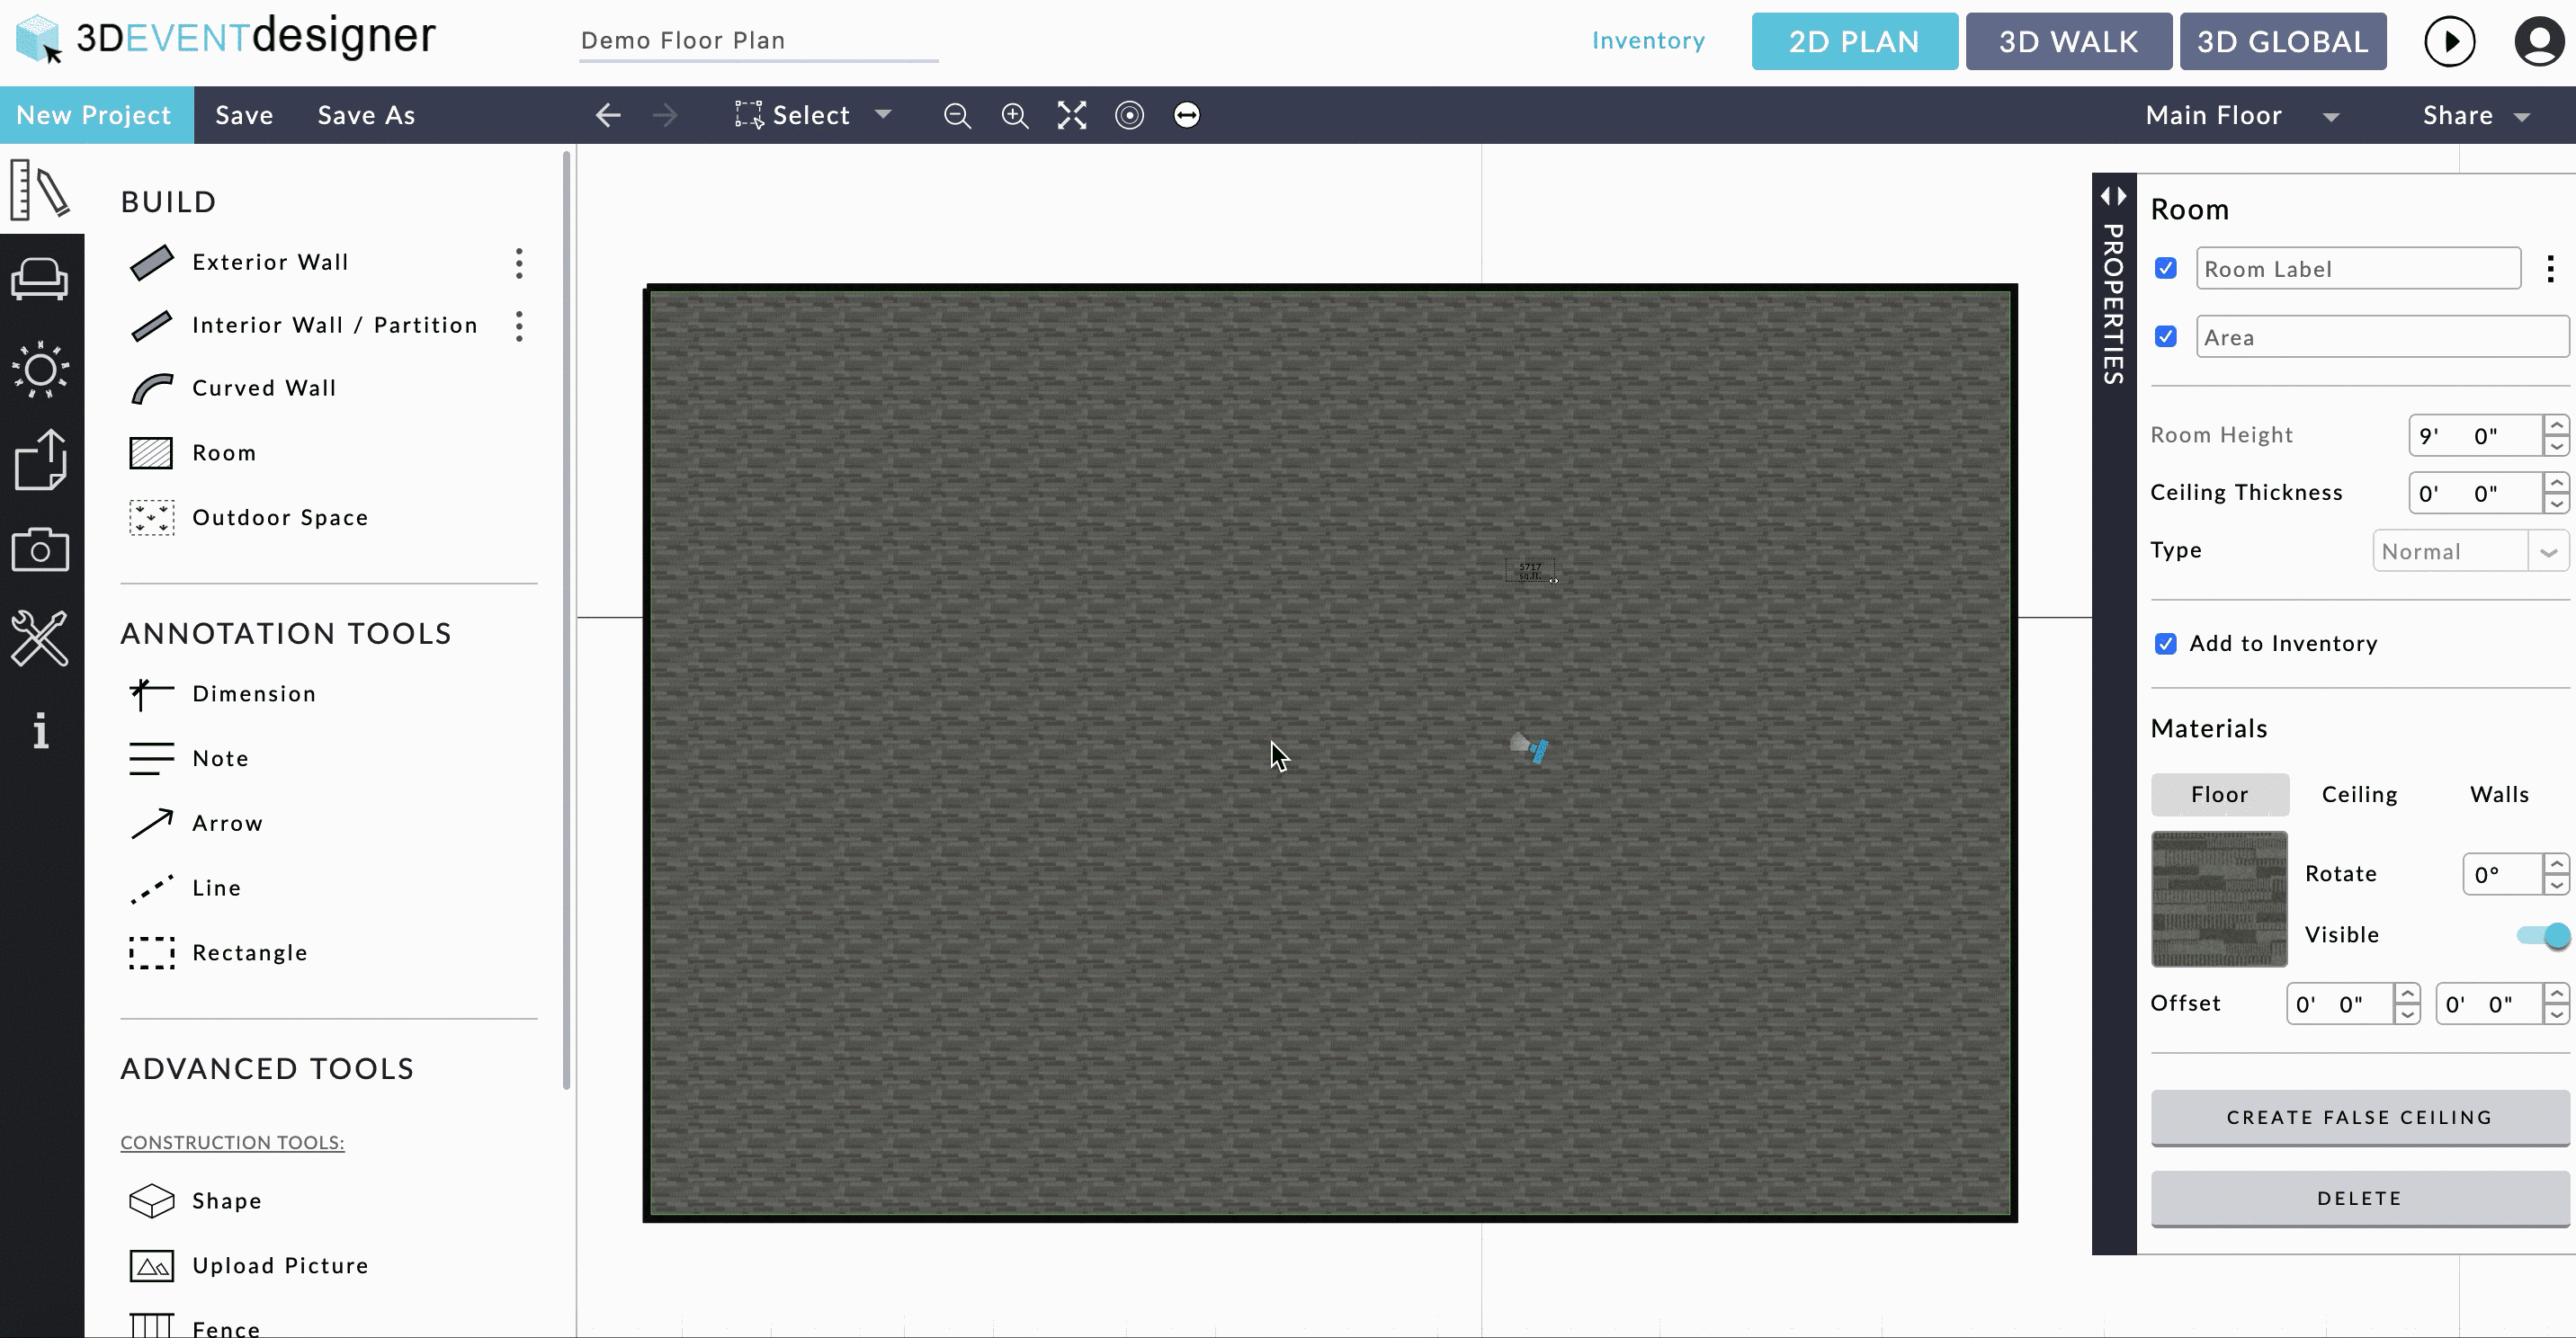
- Click on the floor of the room.
- The Room Properties window will open to the right.
- Adjust the height in the "Room Height" field by typing in a new dimension or clicking the up or down arrows.
Move Walls or Resize a Room

- While in the "2D Plan" view, click on a wall in the floor plan.
- Drag the wall to resize the room.
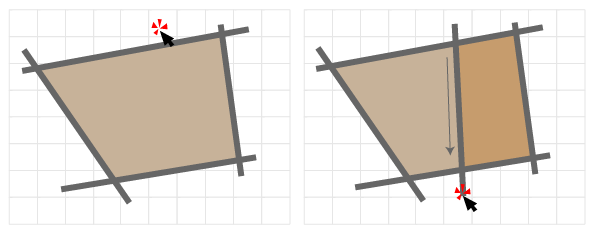
Move Corners
- While in the "2D Plan" view, click on a corner of a wall in the floor plan.
- Drag the corner to change the angle or to resize the room.
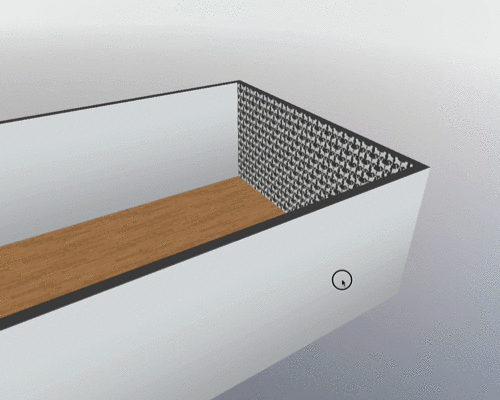
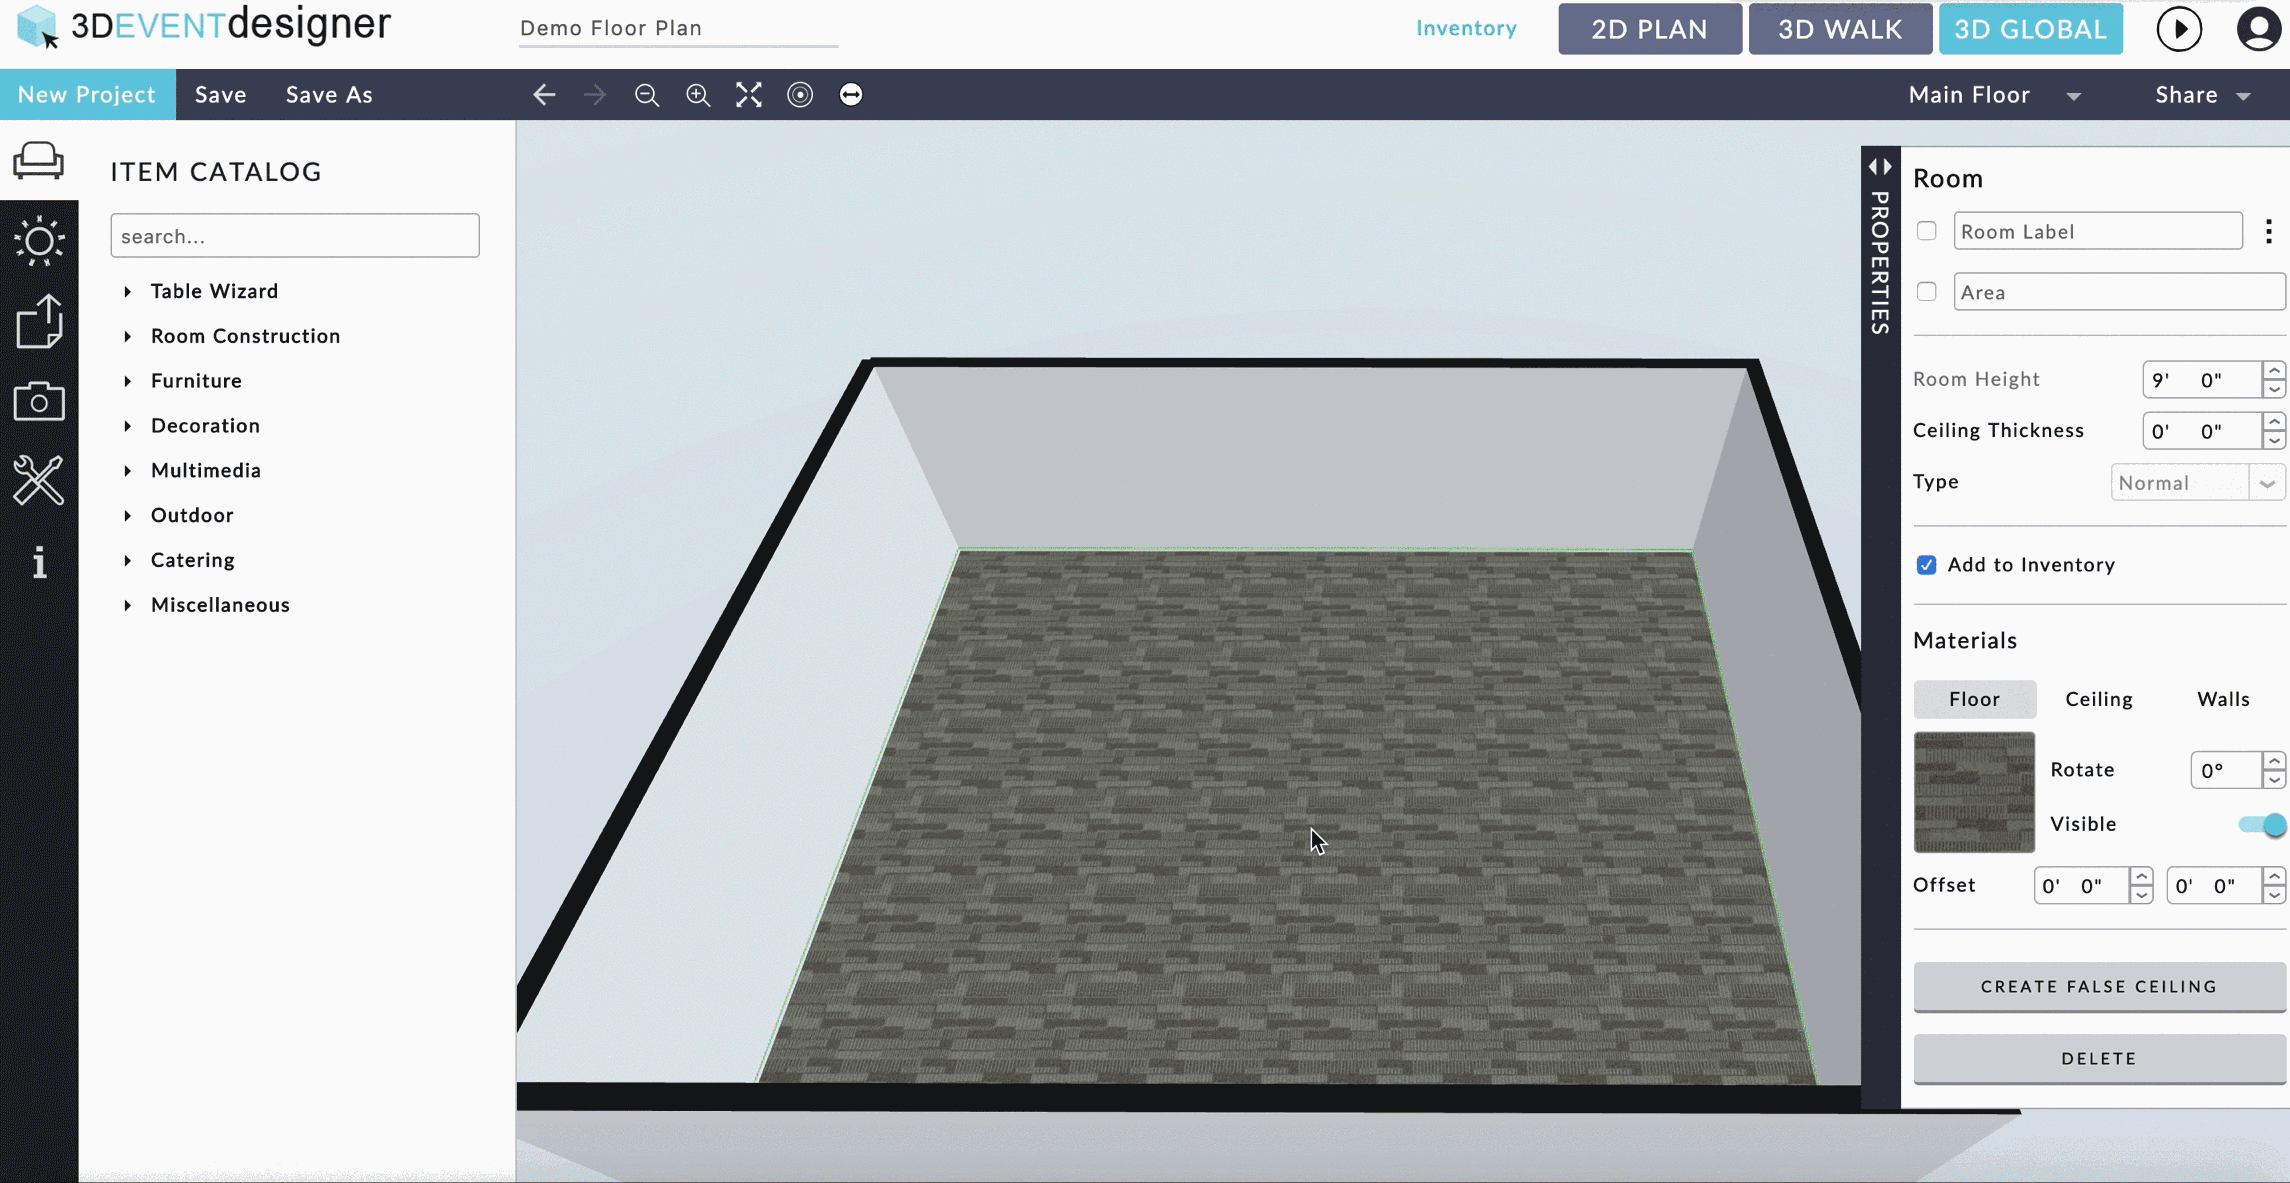
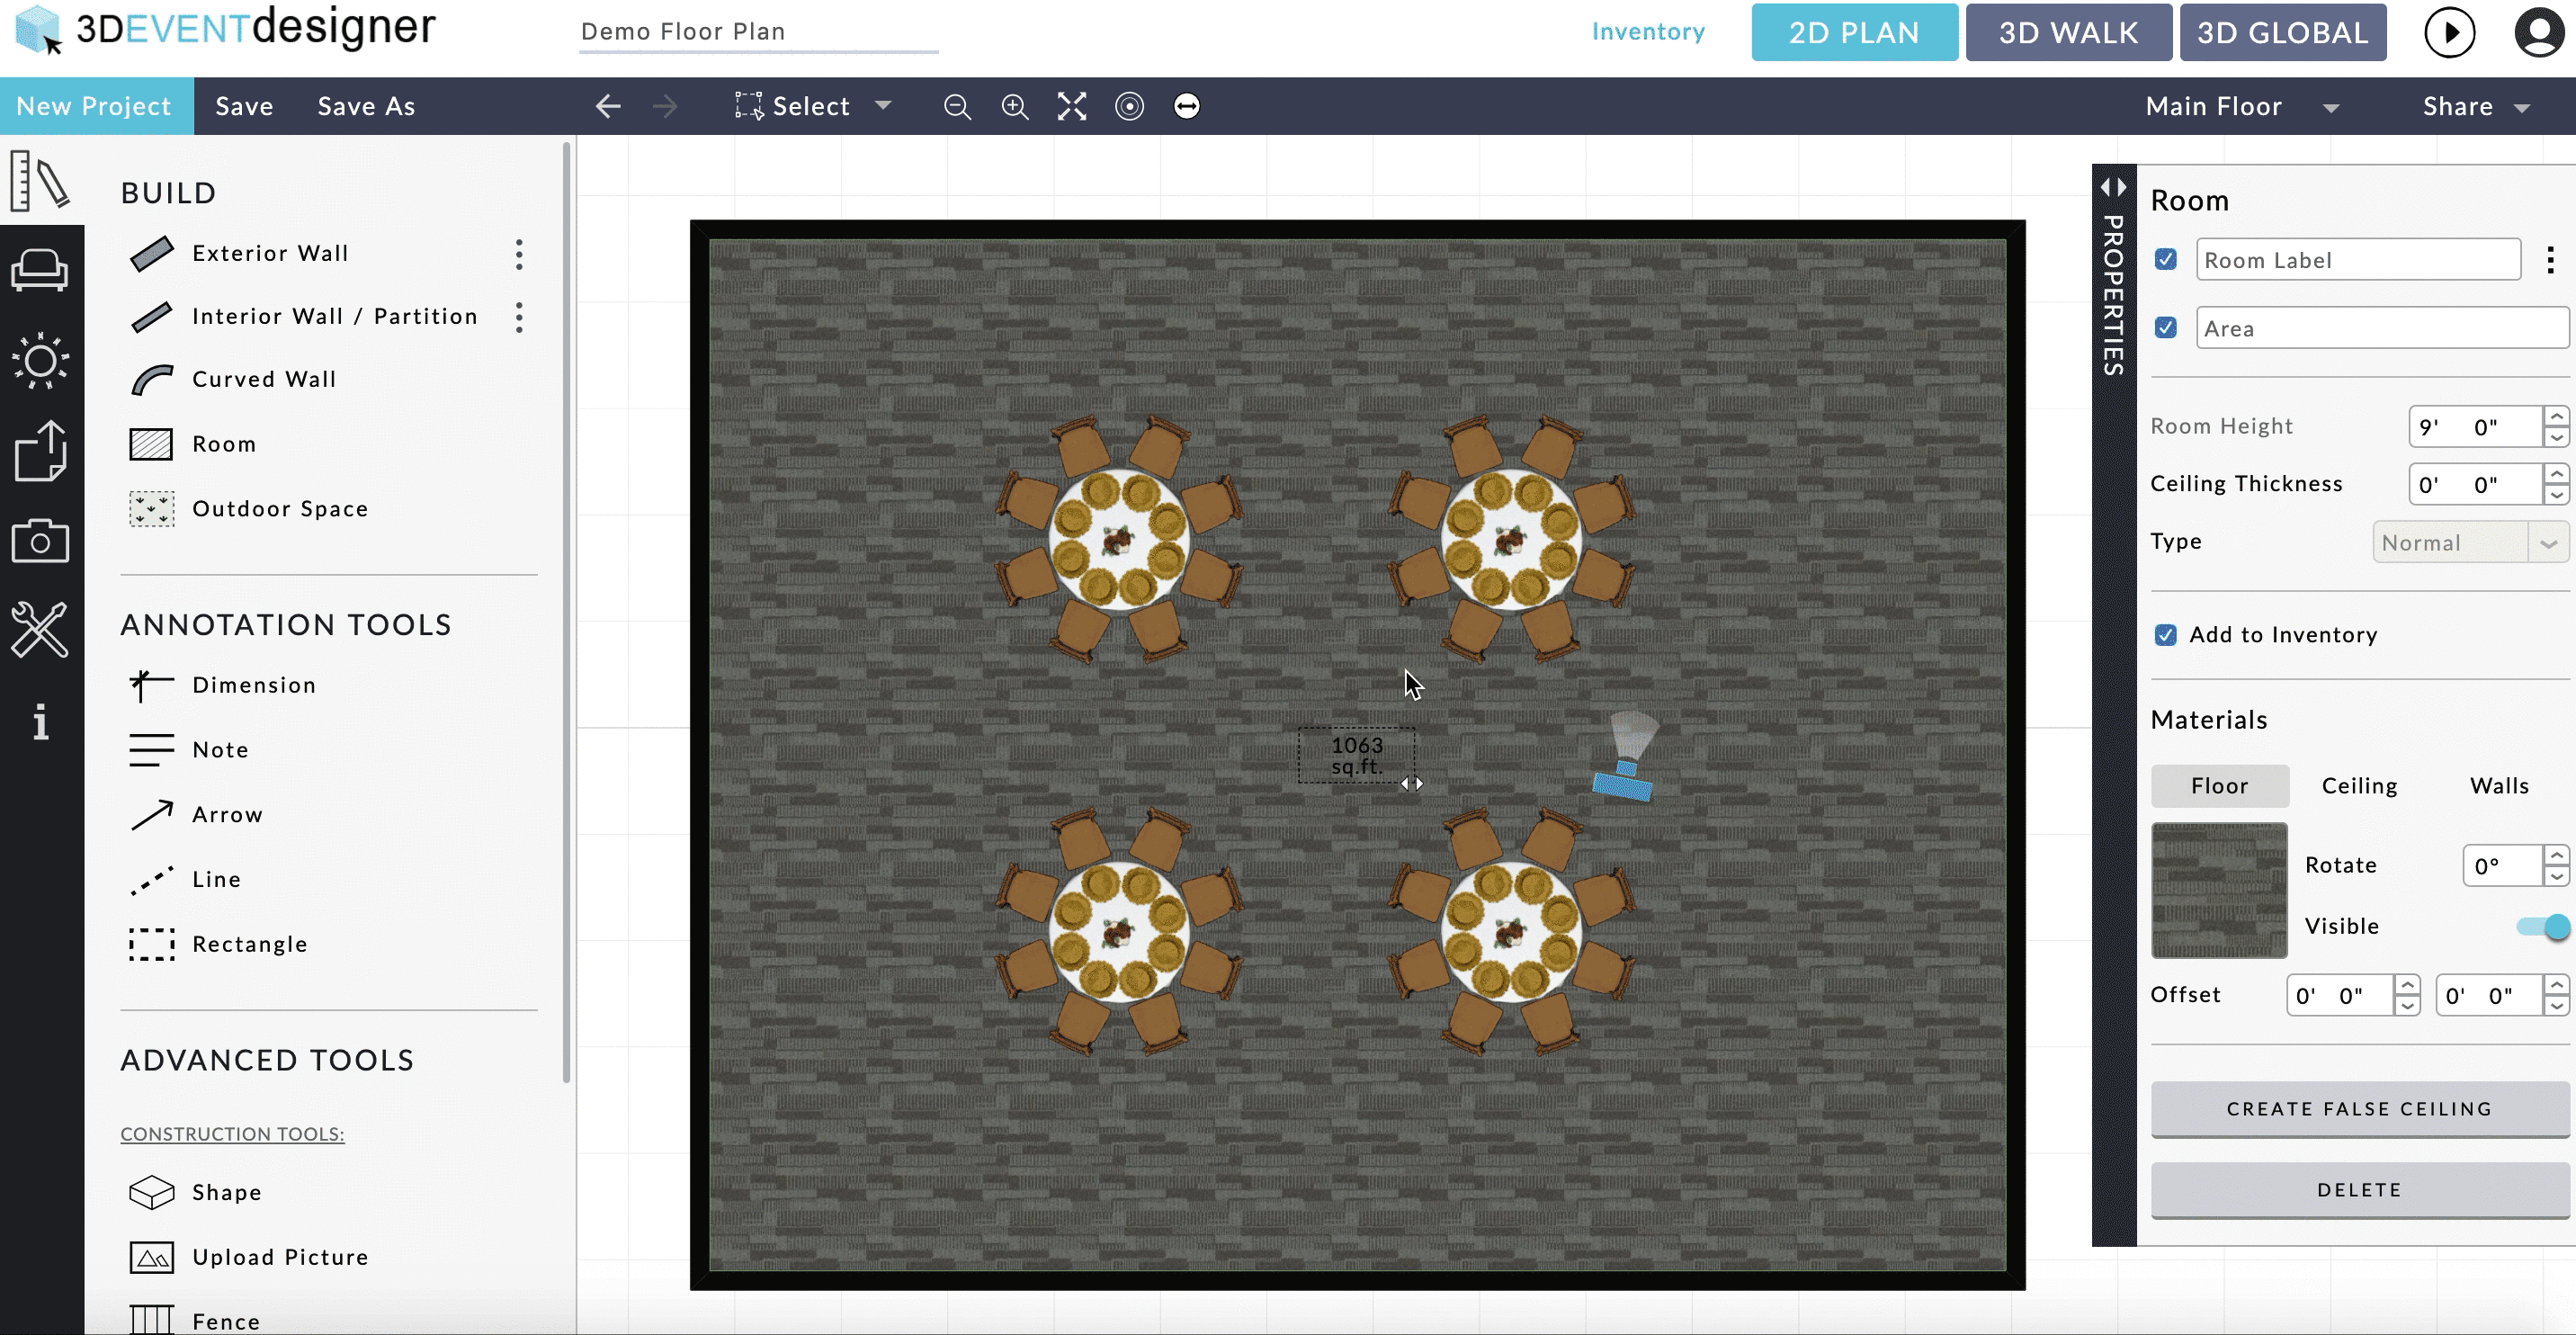
Change Ceiling, Floor and Wall Color and Material
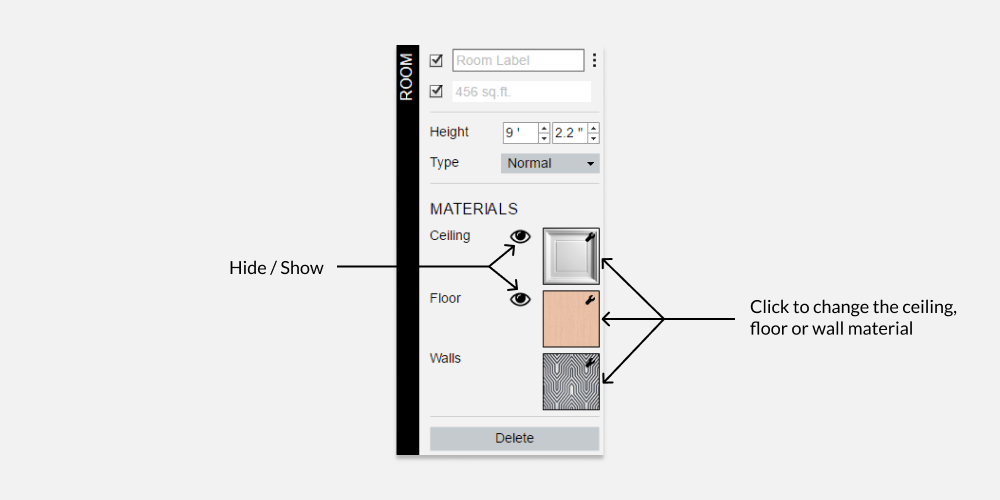
To change floor, ceiling or walls material, click on the room label.
In the Properties Menu, select the part of room or wall to change. The setup window offers a wide range of colors and materials to combine or not.
A. Change Ceiling Color and Material
- Click on the thumbnail icon for the “Ceiling”.
- The “Materials” window will open.
- Select one of the categories (e.g., Color Chart, Plaster / Concrete, Carpet / PVC, etc.) and view the material options.
- Click on a thumbnail material and click the “Apply” button.
B. Change Floor Color and Material
- Click on the thumbnail icon for the “Floor”.
- The “Materials” window will open.
- Select one of the categories (e.g., Color Chart, Plaster / Concrete, Carpet / PVC, etc.) and view the material options.
- Click on a thumbnail material and click the “Apply” button.
Note: If you accidently delete the floor, simply click the "Undo" button located in the top black navigation bar to bring back the floor.
C. Change Color and Material of All Walls in a Room
- Click on the floor of the room.
- The Room Properties window will open to the right.
- Under the "Materials" section, click on the "Walls" button.
- The “Materials” window will open.
- Select one of the categories (for example: Plaster / Concrete, Carpet / PVC, etc.) and view the material options.
- Click on a thumbnail material and click the “Apply” button.
Change the Color or Material of a Single Wall
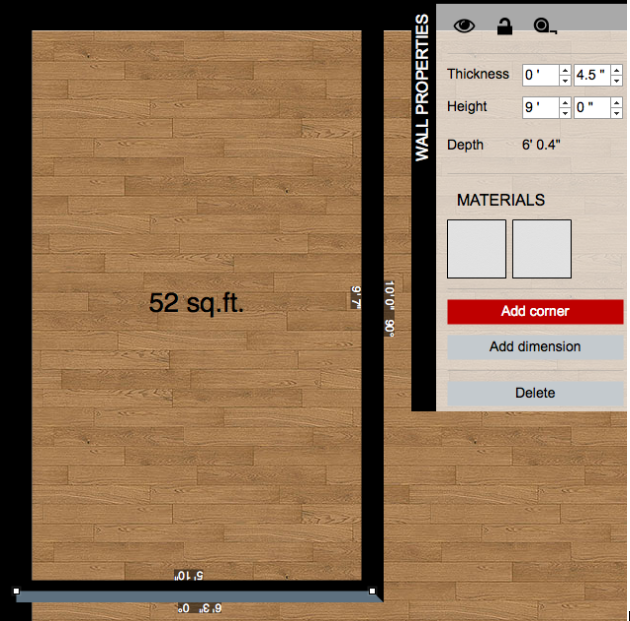
- Click on the wall you want to edit.
- The Wall Properties window will open to the right.
- Click on the left or right Material thumbnail icon to change the appropriate side of the wall (when you hover over the thumbnail image, it will highlight on your floor plan in a grey color the side of the wall you are changing).
- The "Materials" window will open where you can select the desired Material or color.
- Click the “Apply” button to apply the new Material or color to the side of the wall.
- Repeat steps 1-5 to change the color or material of the other side of the wall.
Add Multiple Colors or Materials to a Wall
- In the 2D view, click on the wall you want to edit.
- The Wall Properties window will open to the right.
- Click on the "Multiple Textures" dropdown.
- Click on the "Adjust Materials" button.
- The Materials window will open. Click on the "Stack Materials" button located in the lower left corner.
- Click on the material or color you want and click the "Apply" button.
- You'll see the selected material appear in the lower left corner. In the dimension box below input the height (this is to specify the height of this first material/color).
- To stack materials/colors on top of one another, click the + button in the lower left corner and repeat Steps 6-7.
Copy Wall Colors or Textures to Another Wall
- In the 3D Global view, click on one wall to change/define its color or material.
- The Wall Properties window will open to the right.
- Click on the "Texture or Color" drop down.
- Click on the left or right icon (Note: There are two icons so you can change both sides of the wall. Hover over the icon with your mouse to see which wall side corresponds to it.).
- The Materials window will open.
- Click on the material or color you desire and click the "Apply" button.
- Click on a different wall that you want to have the same material or color as the wall you just edited.
- In the Wall Properties window that opened to the right, under the "Texture or Color" dropdown, as you hover over the Wall Side icons, an eye dropper appear.
- Click the eye dropper and then select the first wall that has the material or color you want to match.
- The material or color of the first wall will now be matched to this second wall.
Add Baseboard or Molding to a Wall
- In the 3D Global view, click on the wall you want to change the color or material of.
- The Wall Properties window will open to the right.
- Click on the "Moldings + Baseboards" dropdown.
- The "Type" field is used to define the type of ornament (for example, "Molding" or "Baseboard").
- The "Height" field is used to define the desired height of the molding or baseboard.
- The "Thickness" field is used to define the depth of the molding or baseboard.
- Click on the "Position" dropdown to define the location (Top, Middle, Bottom or Custom) on the wall.
Split a Wall

- In the 2D view, click on the wall you want to split.
- The Wall Properties window will open to the right.
- Click on the "Dimensions + Splitting" dropdown.
- Click "Split Wall Manually" and then click on the wall where you want the split to occur.
Divide Spaces
- While in the "2D Plan" view, click on the "BUILD" tab.
- Click on the "Exterior Wall" or the “Interior Wall / Partition” drawing tool (click on the Outdoor Space if you want to divide the space without a wall).
- Left click your mouse (on a tablet tap your finger) 2 times: 1) At the start of where you want to divide the space and 2) Again at the end of where you want to divide the space.
- Double click or press the "Escape" key on your keyboard to exit out of drawing mode (on a tablet double tap your finger).
Openings
- While in the "2D Plan" view, click on the "FURNISH" tab.
- Scroll to find the “Room Construction” → “Doors | Openings” category and click on it.
- Scroll to see your options or search for an item by typing a keyword into the Search Bar.
- Click on the desired opening (for example: door, window, etc.) and drag the item into the floor plan (the opening will automatically snap into the wall).
Add a Window View or Wall Art
- While in the "2D Plan" view, click on the "BUILD" tab.
- Click on "Upload Picture".
- Click where you want the window view or wall art to be located in the floor plan.
- The Upload "Picture Properties" window will be visible on the right. Click on the "Upload Picture" button.
- Find and select the image that is saved on your computer.
- In the "Upload Picture" Properties window, adjust the Width, Height, and Raise (distance from floor).
Create an Outdoor Space
- Click on the "BUILD" tab.
- Click on the "Outdoor Space" drawing tool.
- Left click your mouse (on a tablet tap your finger) where each corner of the outdoor space will be.
- The outdoor space will snap together and the floor will appear once you click all corners of the space and end by clicking on the starting point.
* To exit out of the Outdoor Space drawing mode: Press the "Escape" key on your keyboard or double click your mouse (on a tablet double tap your finger).
Add a Half Wall
- Click on the "BUILD" tab.
- Click on the "Interior Wall / Partition" drawing tool.
- Left click your mouse (on a tablet tap your finger) at the starting point of the wall.
- Move your mouse to where the end of the wall will be located and double click your mouse (If you only click your mouse once to end the wall, the wall drawing mode will still be active. To exit out of the wall drawing mode, either double click your mouse or press the escape button on your keyboard.)
- Click on the wall and the Wall Properties Window will open on the right.
- Click the divide icon (located directly to the right of the lock button) to separate the half wall from the ceiling. This ensures there is not a hole or gap in the ceiling.
Add a Roof
There are two ways to add a roof. You can either add an Automatic Roof or a Custom Roof.
Automatic Roof:
- Click on the "Main Floor" drop down located in the top black navigation bar.
- Click "Configure".
- Click "Add a Floor" and name it (for example, "Roof").
- Click on the "Main Floor" drop down again and select the new floor you just created.
- While in the 2D View, click on the "Build" tab.
- Click on "Automatic Roof".
- Click on the "3D Walk" mode to view the new roof.
Custom Roof:
- Click on the "Main Floor" drop down located in the top black navigation bar.
- Click "Configure".
- Click "Add a Floor" and name it (for example, "Roof").
- Click on the "Main Floor" drop down again and select the new floor you just created.
- While in the 2D View, click on the "Build" tab.
- Click on "Roof".
- In the floor plan, click your mouse where each corner of the roof is located and end by clicking on the starting point.
- Click on the "3D Walk" mode to view the new roof.
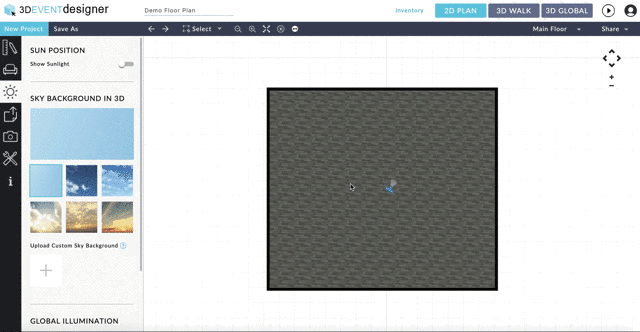
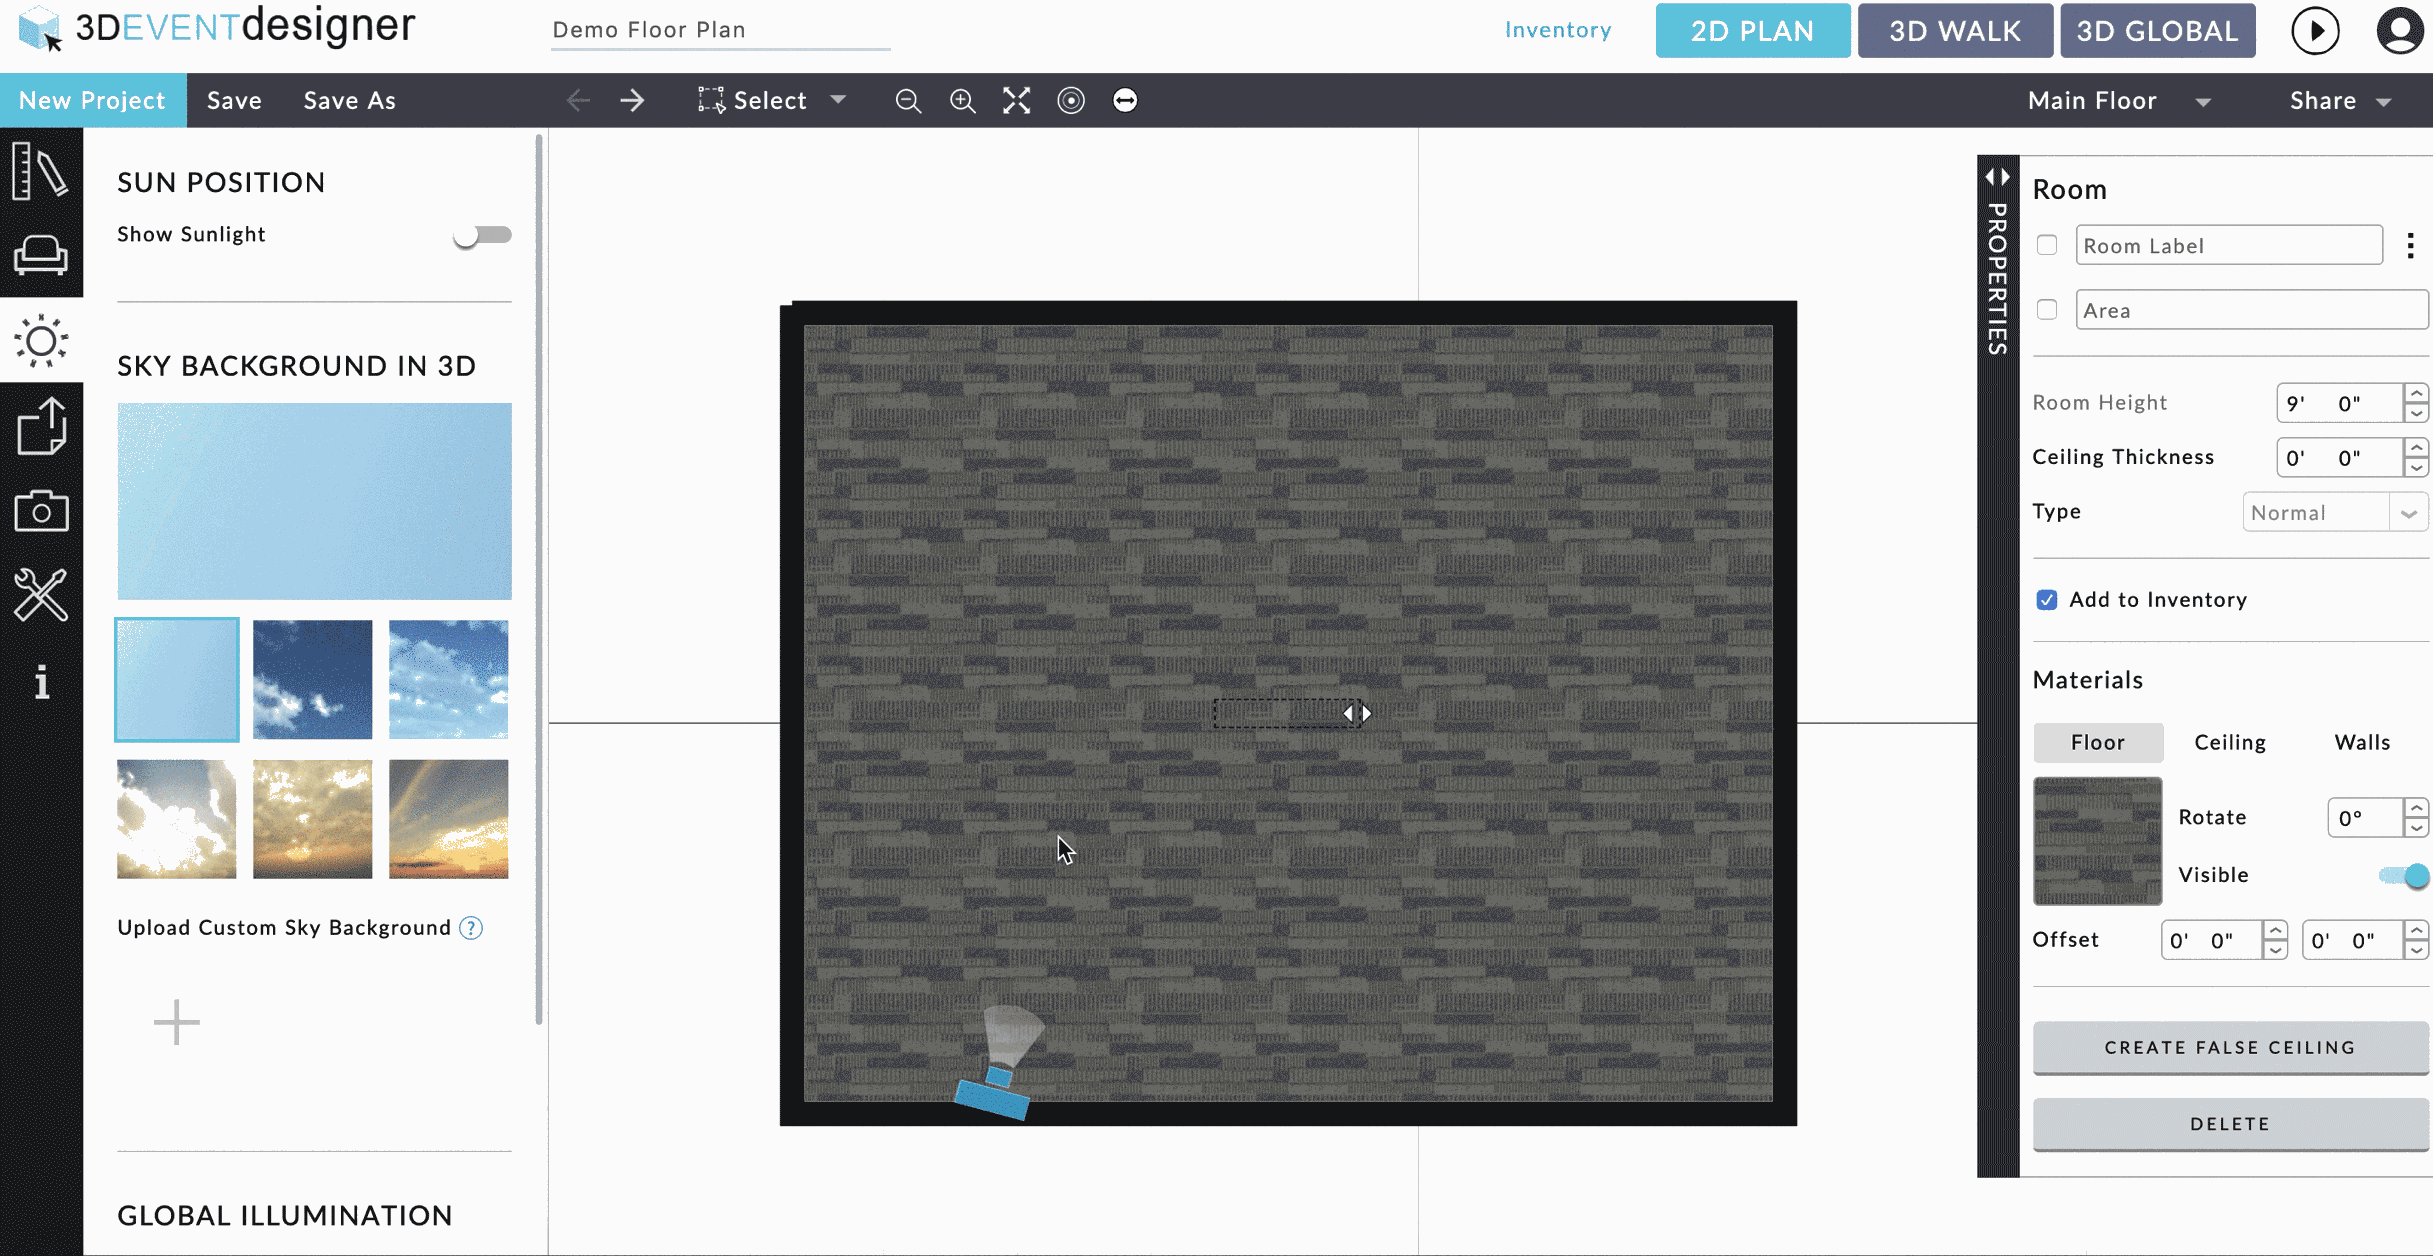
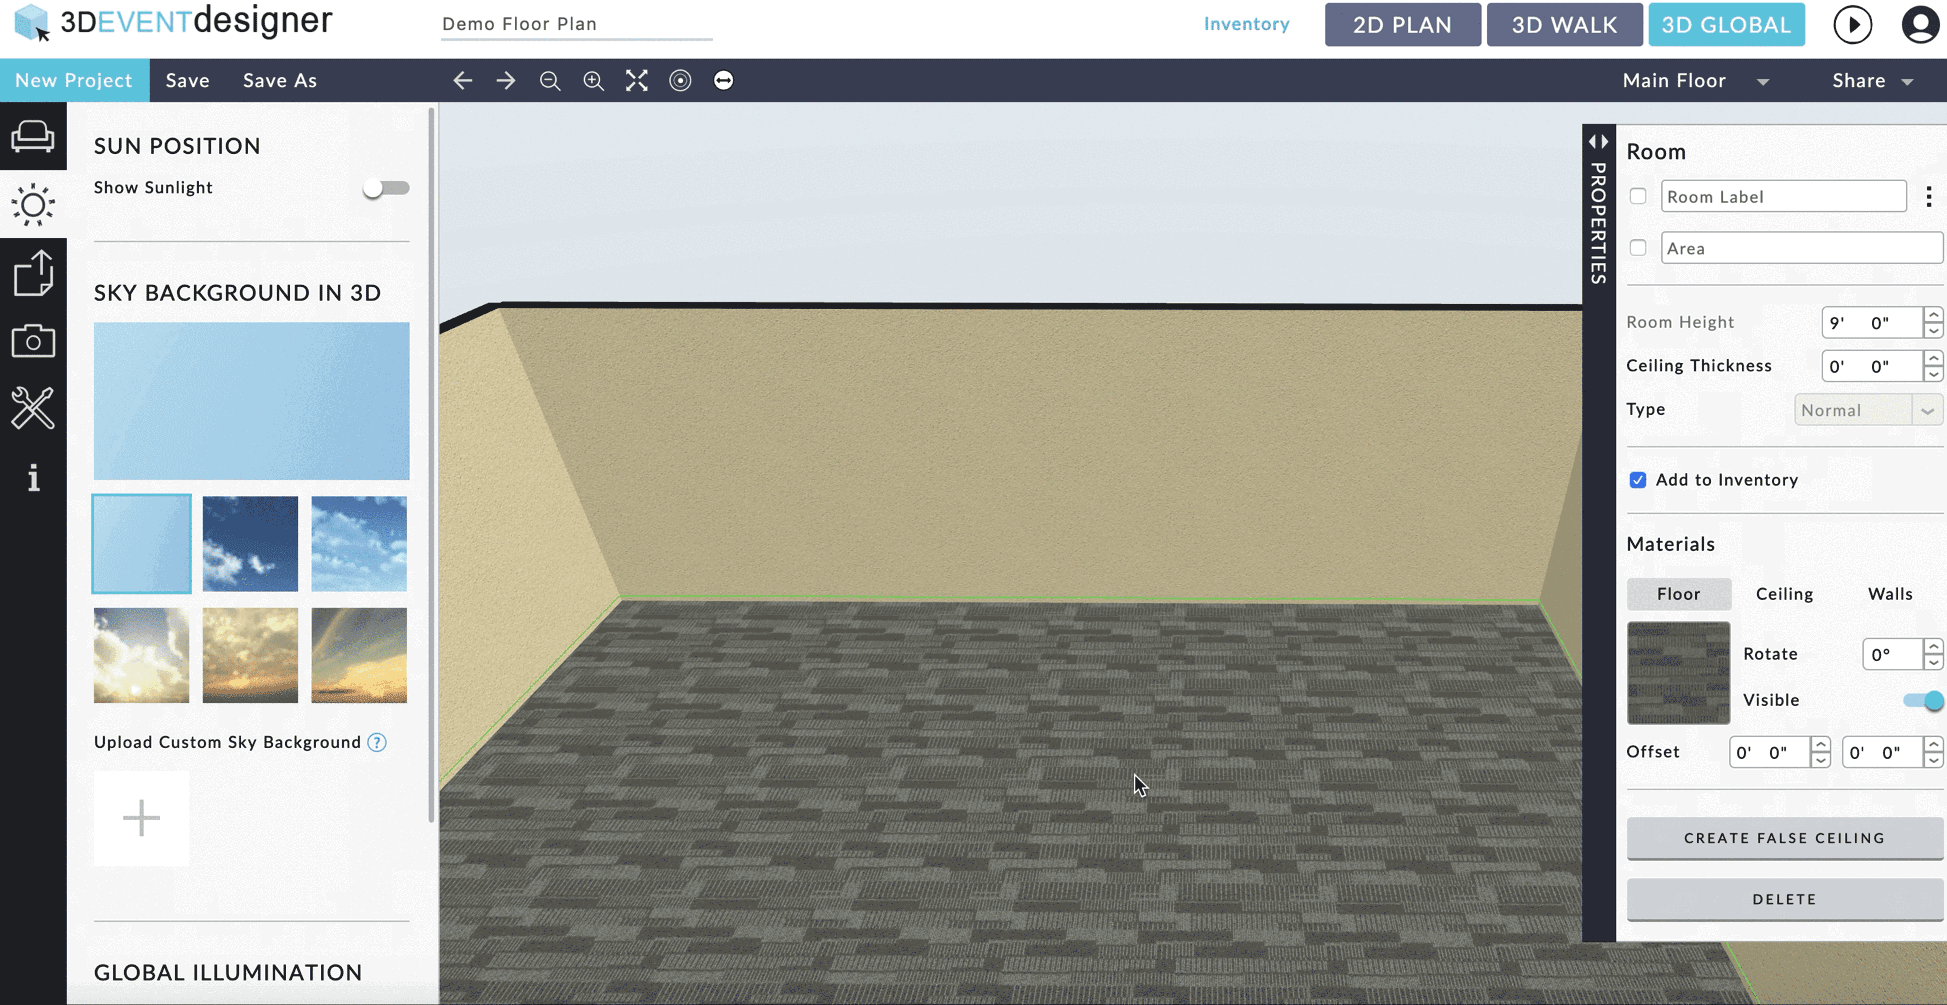
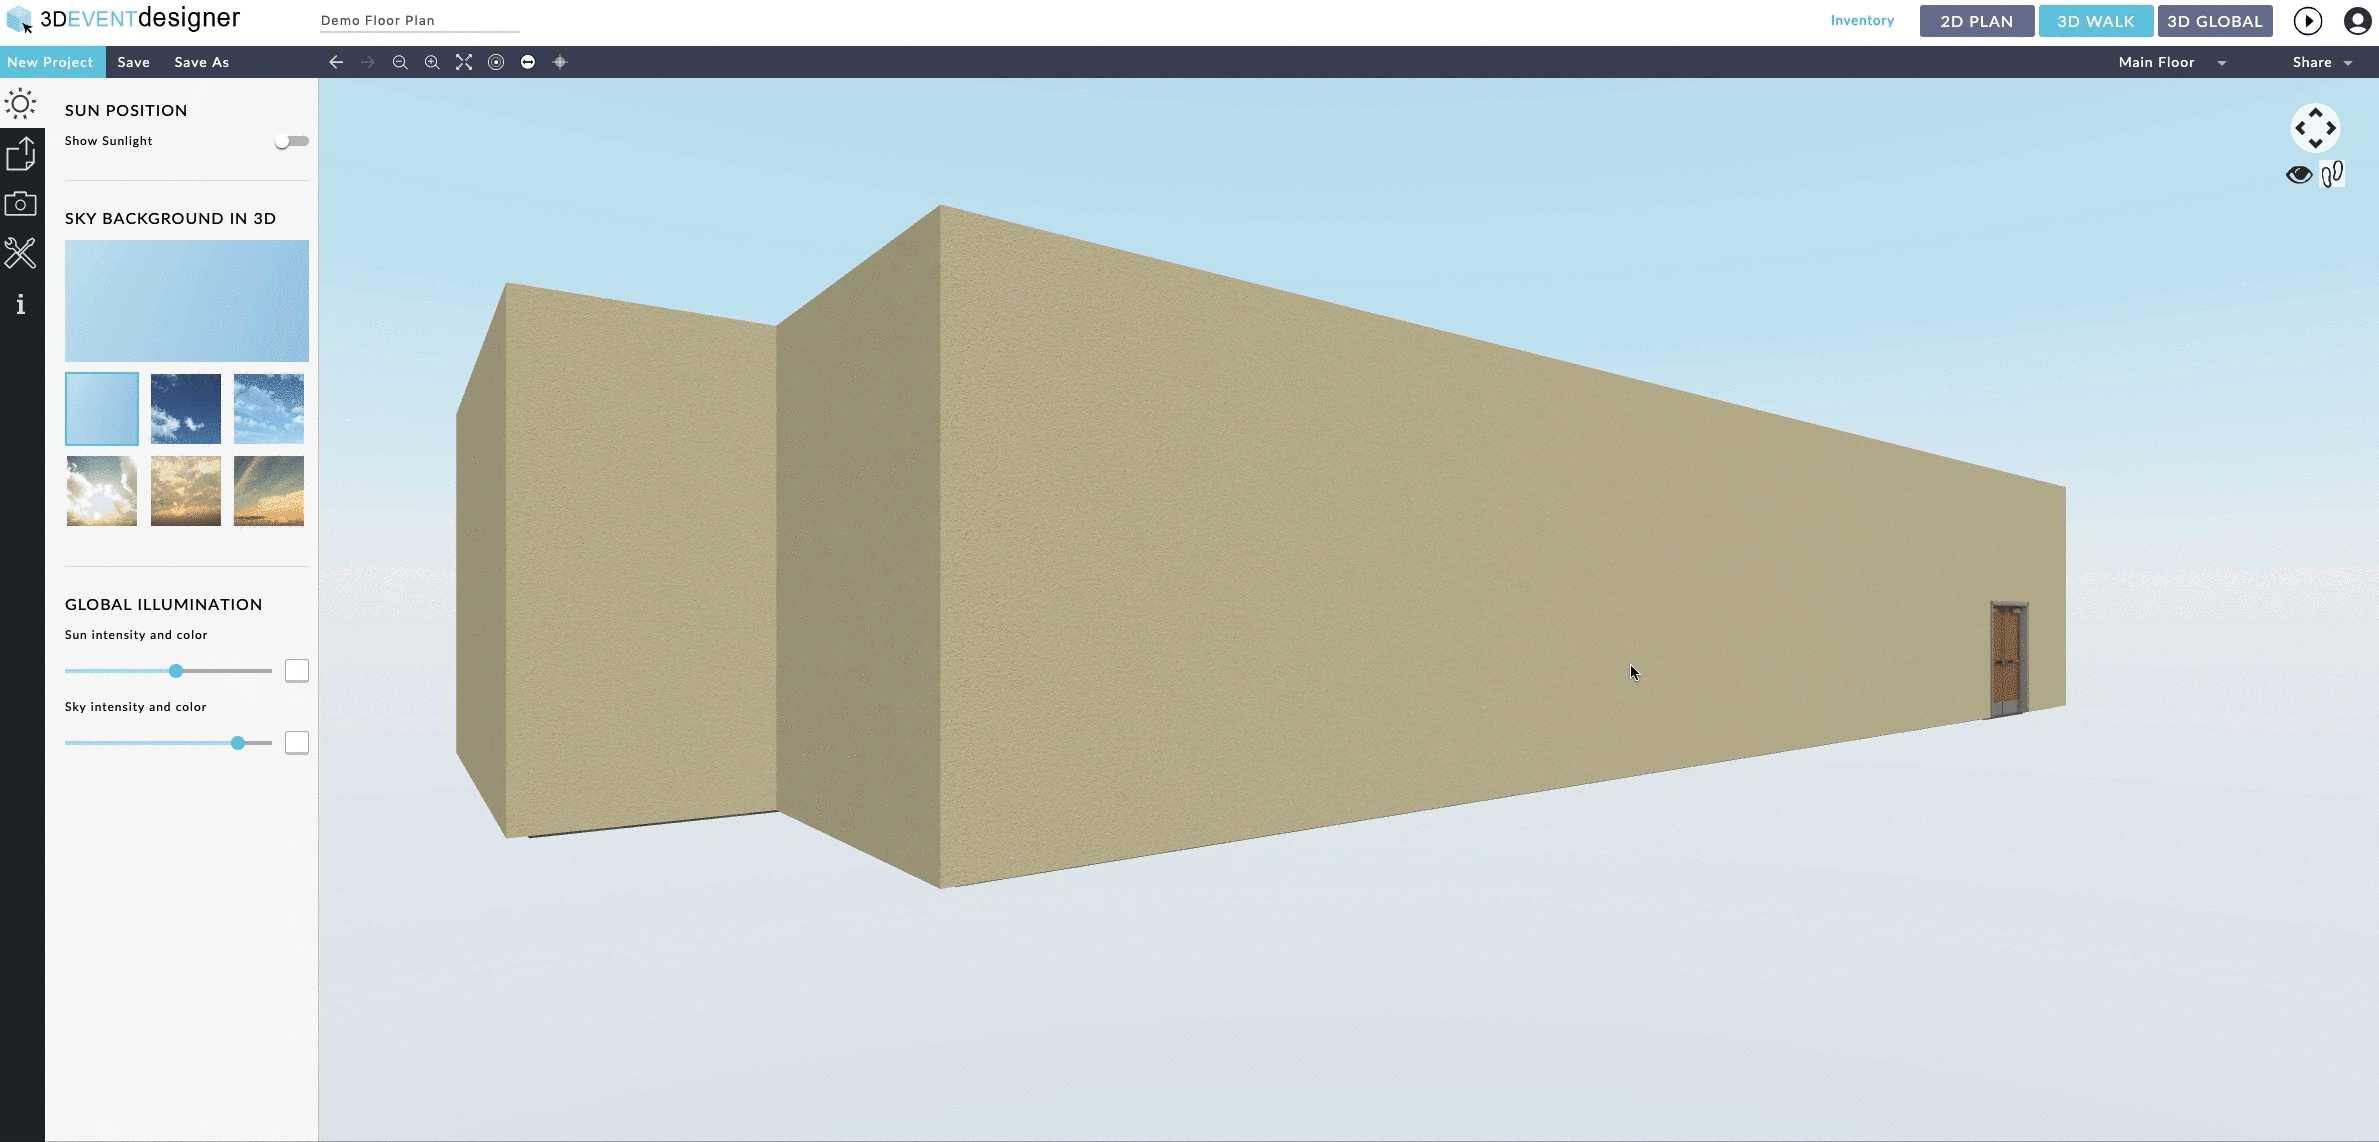
Add a Sky Background
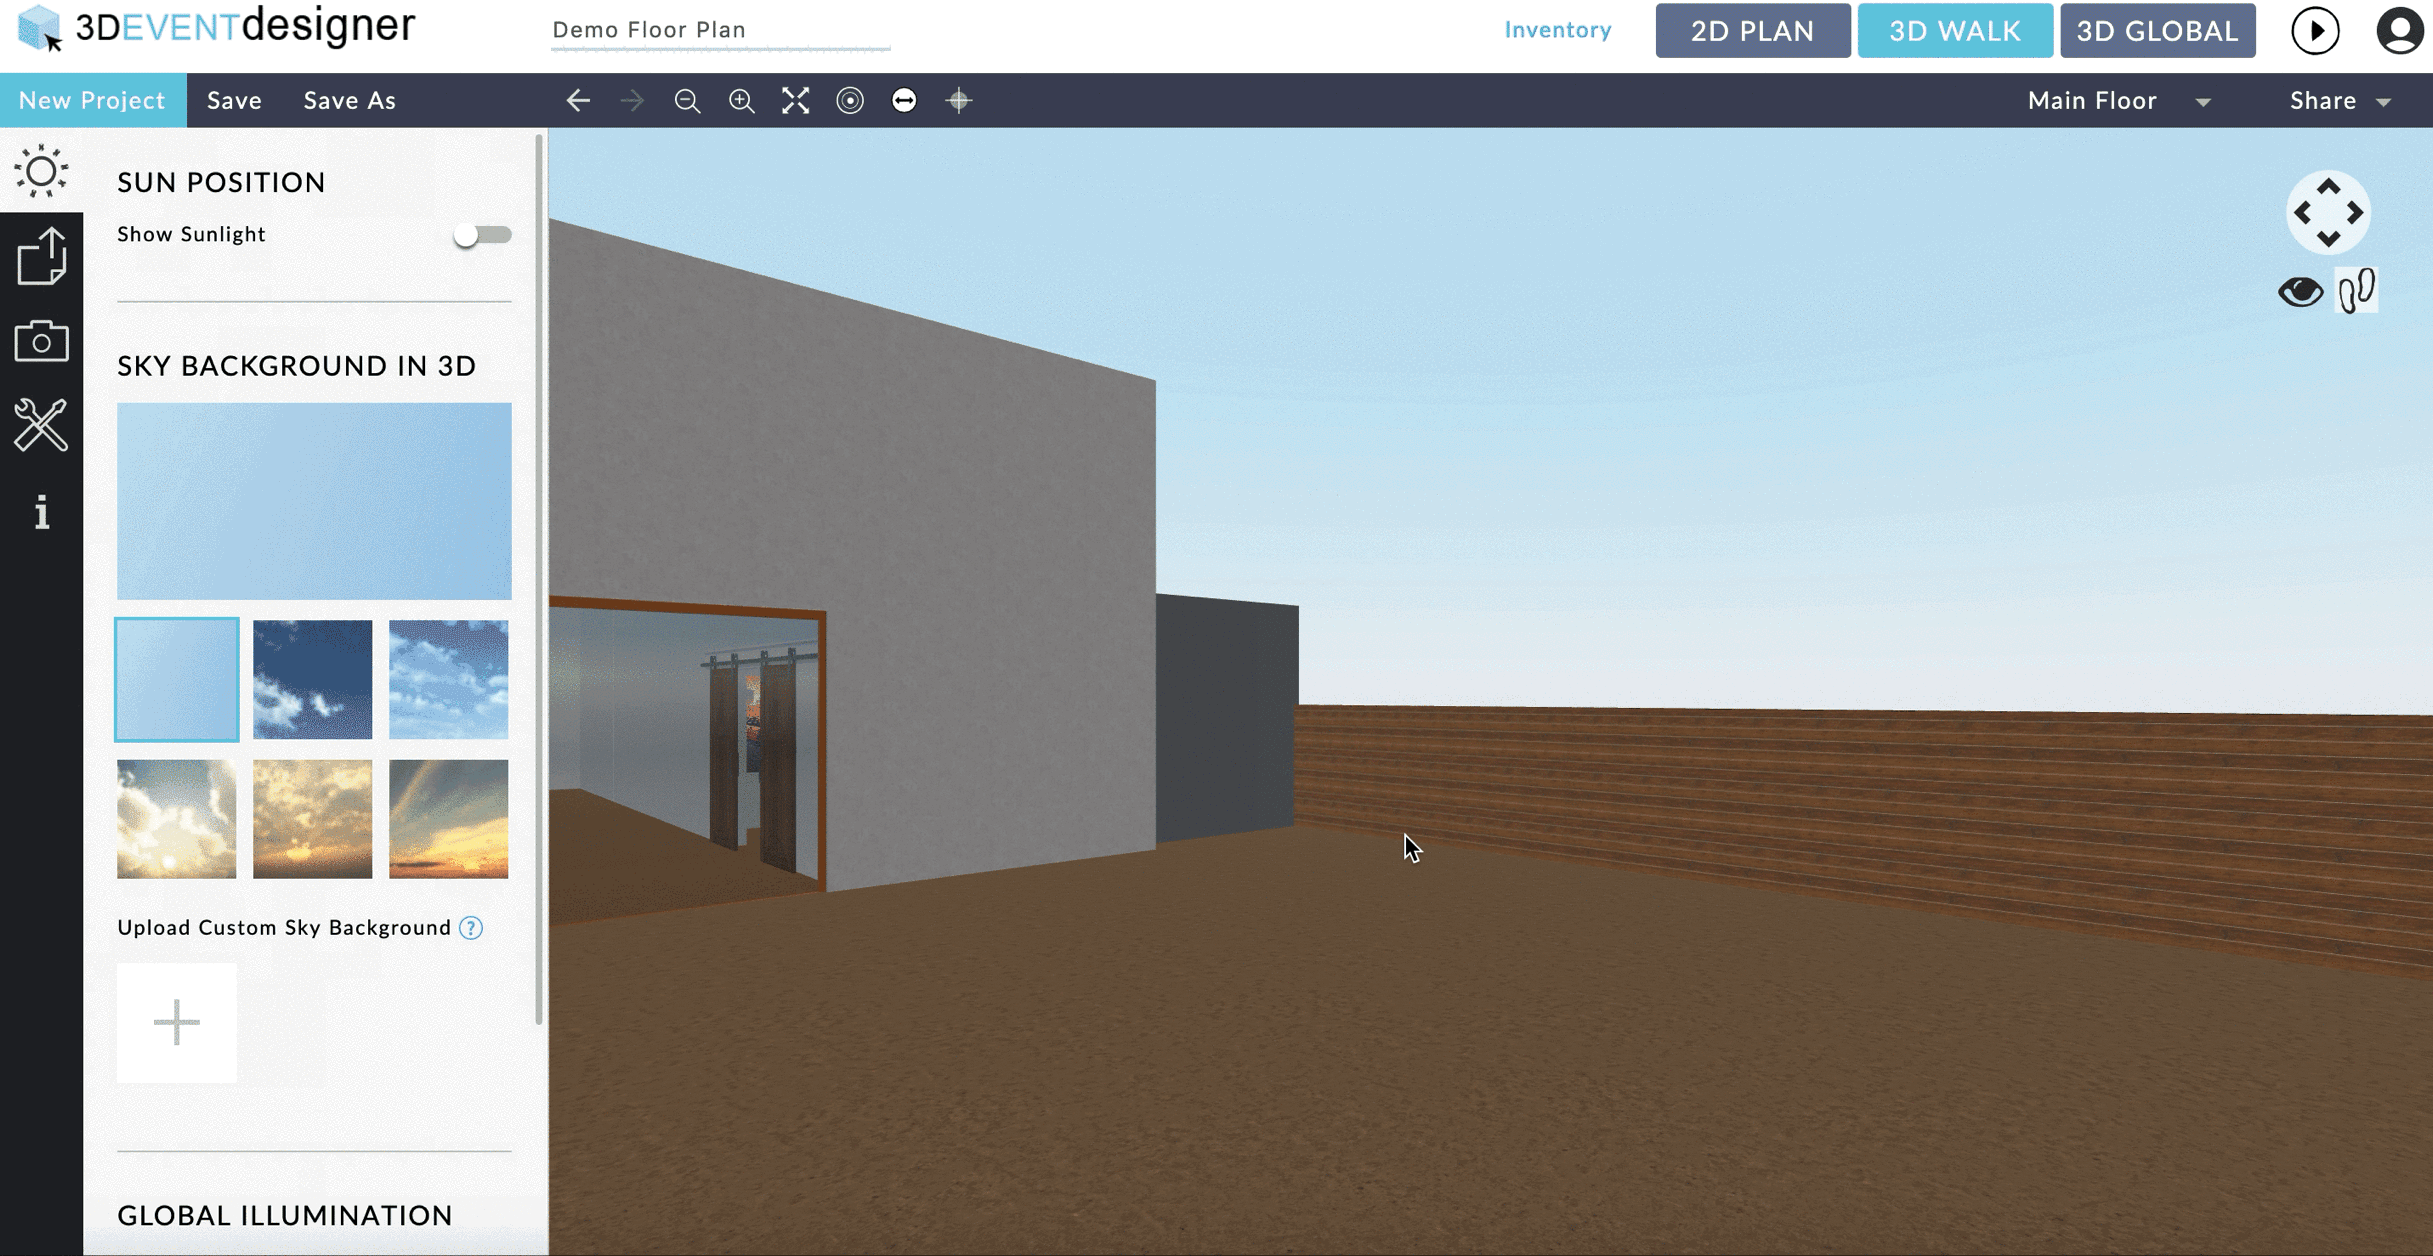
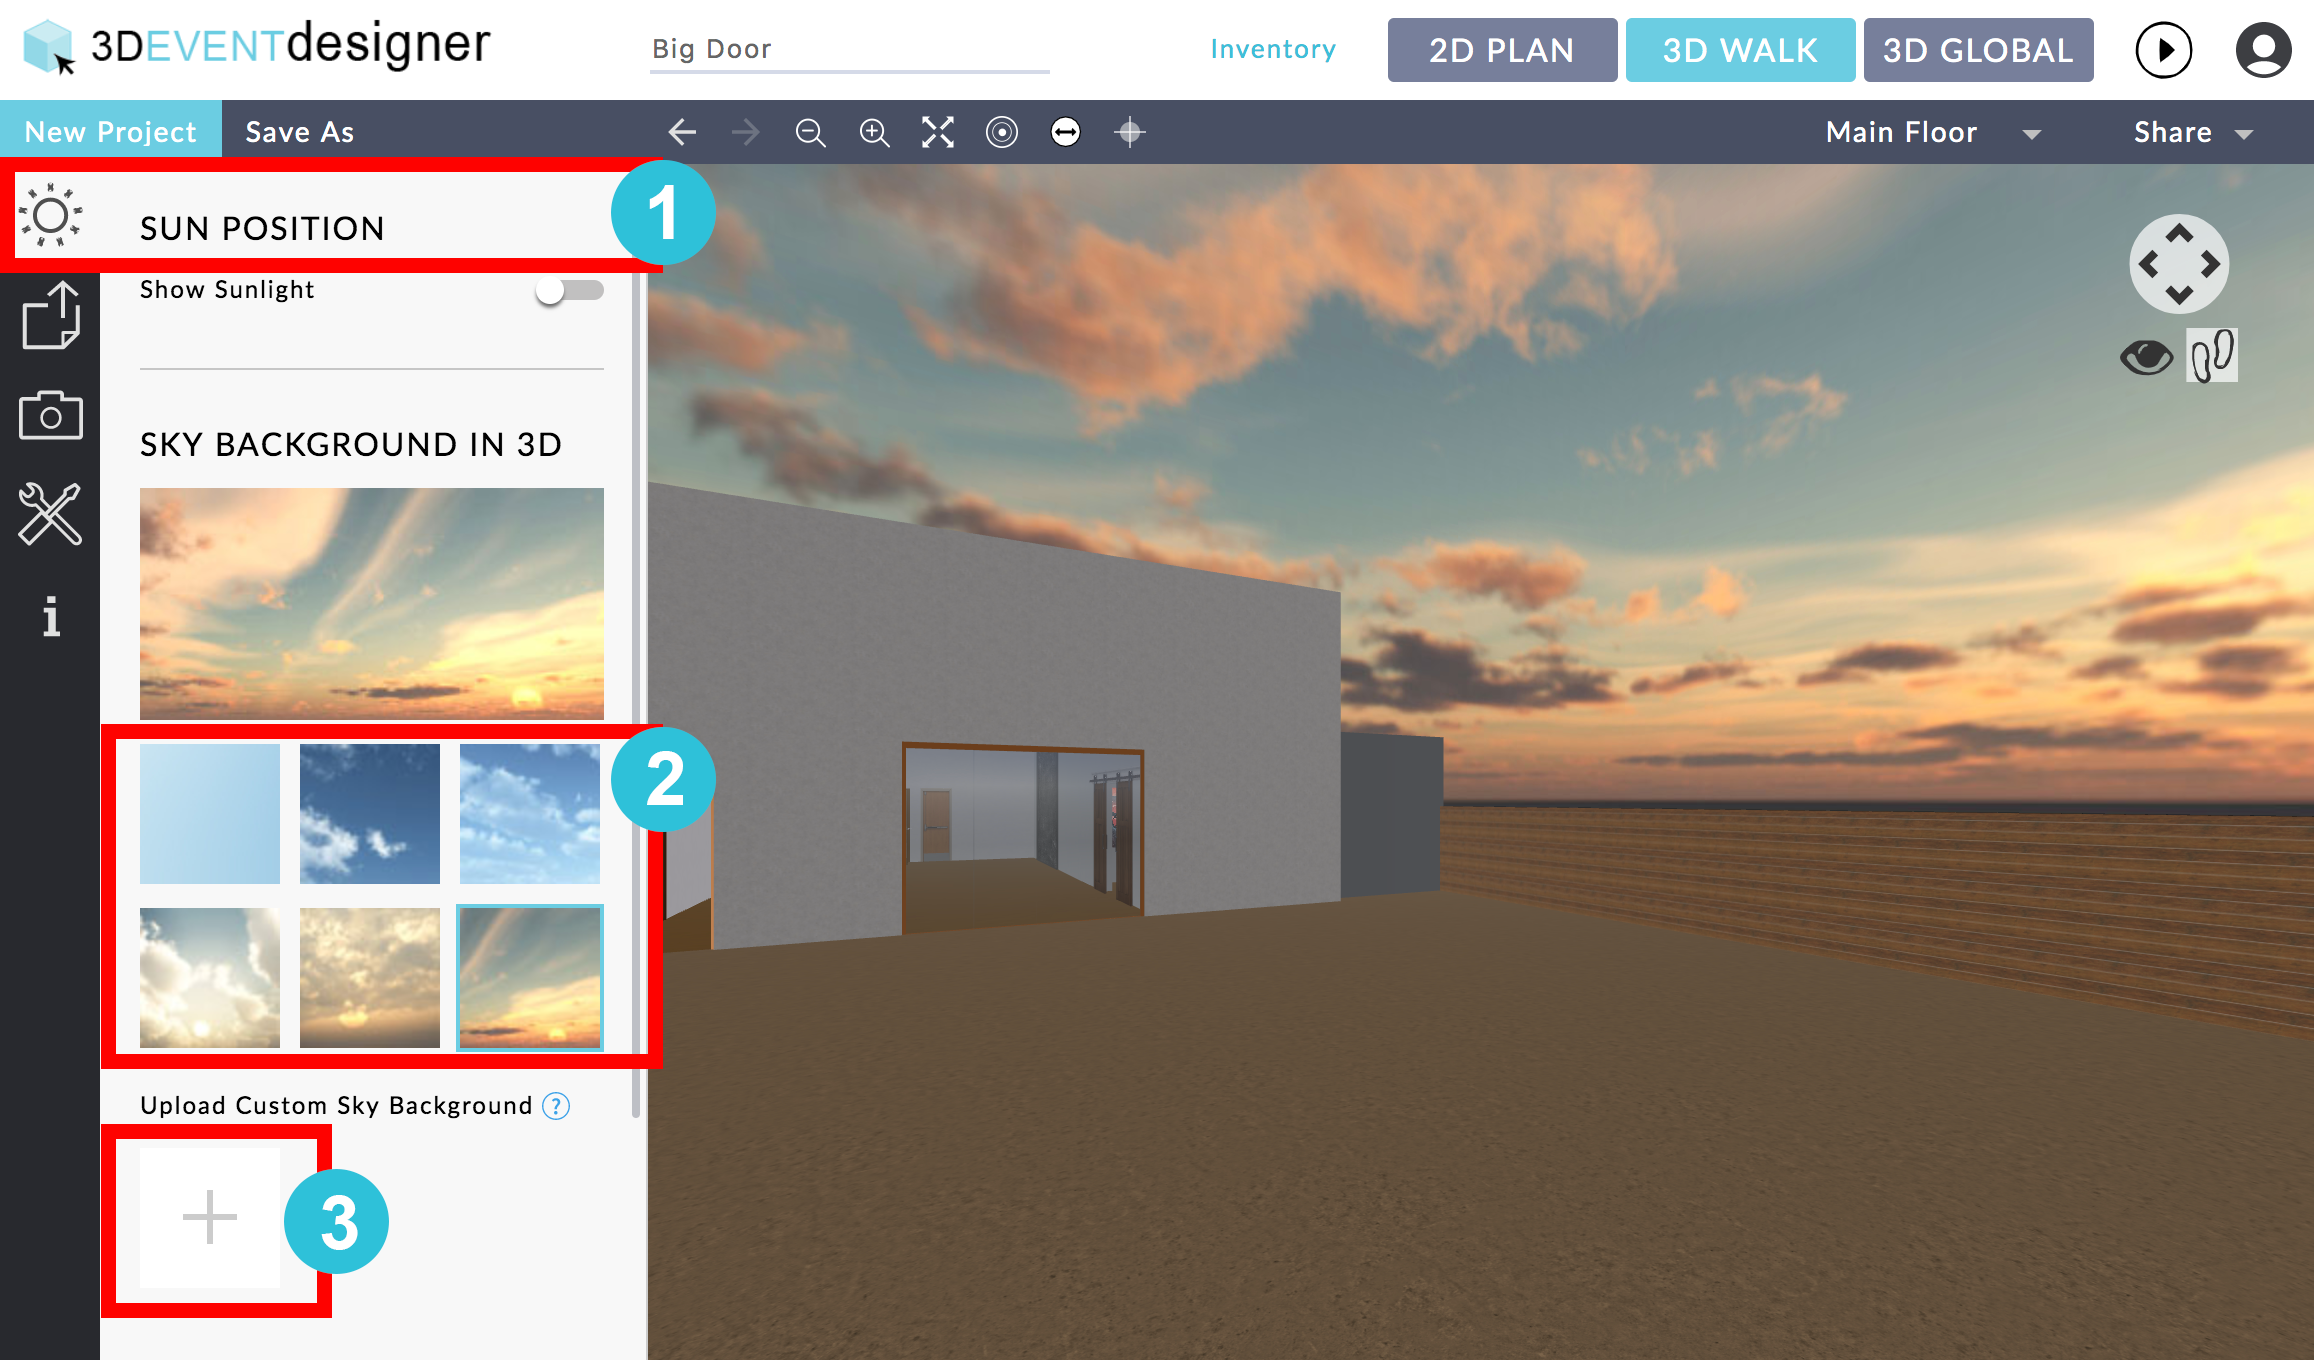
Want to make outdoor events or indoor spaces with windows even more realistic? Choose from one of our pre-loaded Sky Backgrounds (clear, cloud, sunset, etc.) or. upload one of your own!
- Click on the "LIGHTING AND SKY BACKGROUND" tab.
- Click on one of the pre-loaded "Sky Background in 3D" options to change the sky (blue sky, clouds, sunrise, etc.); or
- Click on the + button to upload your own custom sky background from your computer.