Print, Email and Share
Email Interactive 3D Link
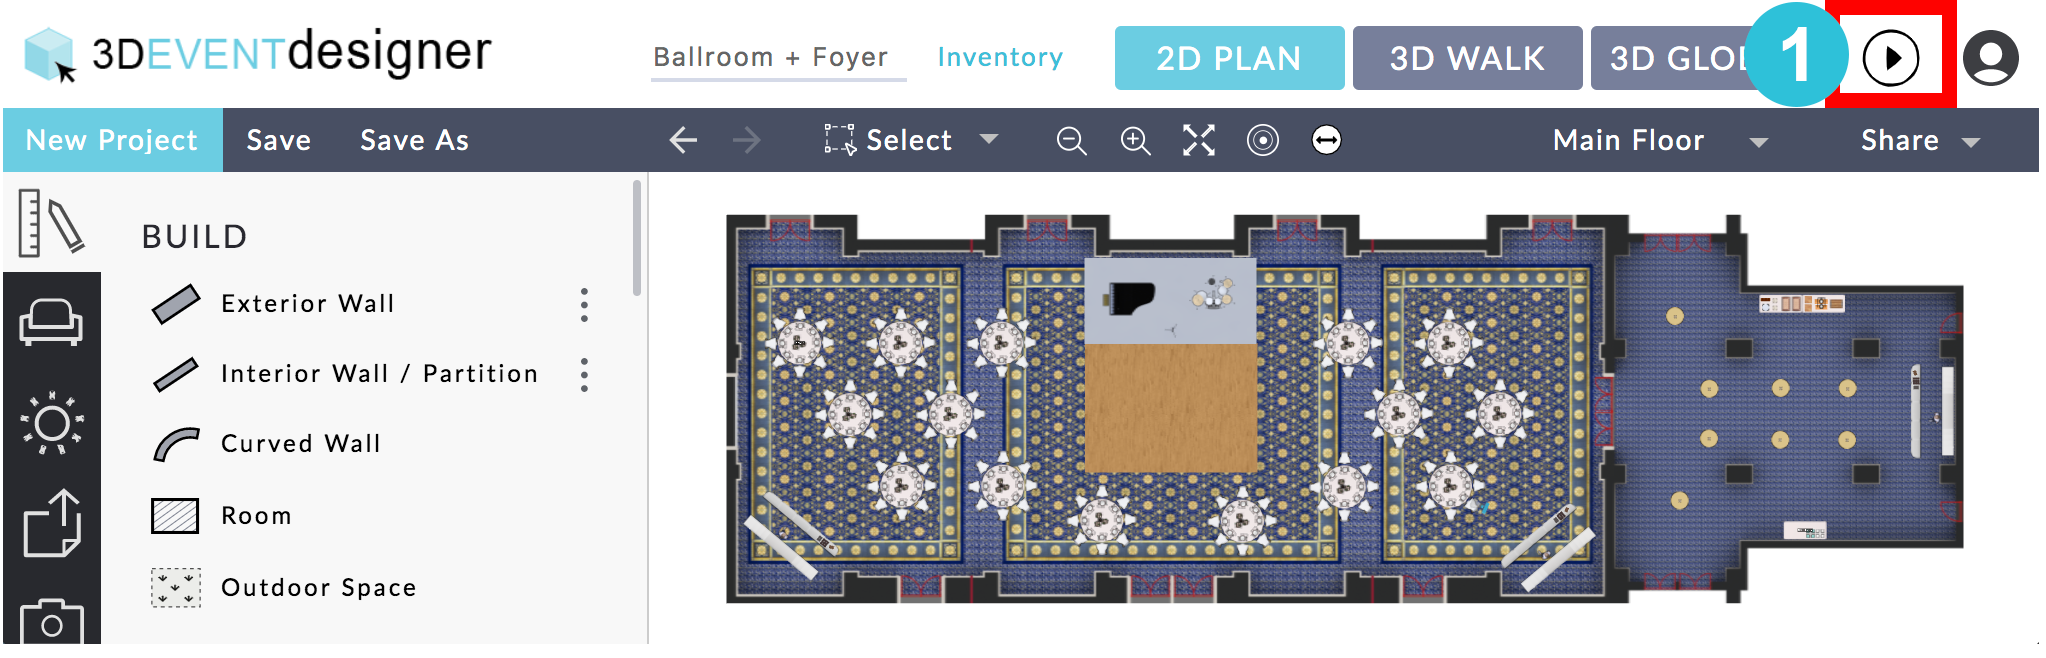
- Click on the arrow with the circle around it in the upper right corner.
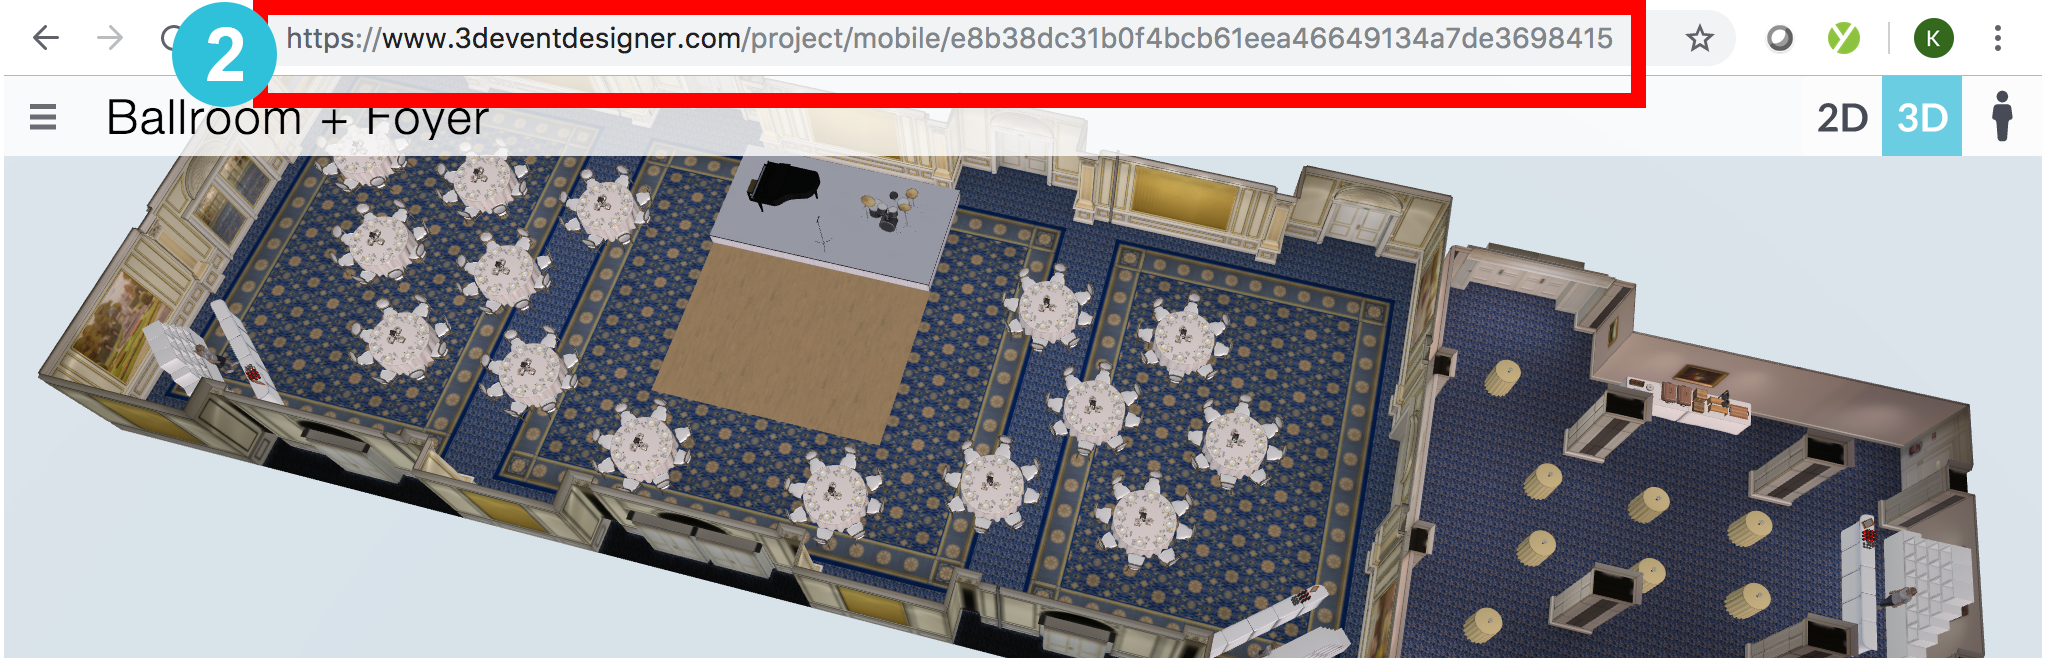
- Copy the floor plan’s URL and paste it into an email or instant message to share with others (for example: share with clients, vendors, family and friends).
- Recipients will be able to view all three (3) points of view: 2D Plan, 3D Walk and 3D Global, as well as, the Inventory document.
- Recipients will be able to view real-time design changes and edits made by you or your team simply by refreshing their browser or re-clicking on the link.
Give Editing Access (Editing Permission)
- Click on the “Share” tab located on the far right in the black navigation bar.
- Click on the “Email” option.
- Input the recipient’s email address, customize the text, and don’t forget to sign your name (so the recipient knows who the email is from as it comes through 3D Event Designer’s email server).
- Check the “Project Editable” box to enable editing access (note: do not check this box if you do not want to give the recipient editing permission)
- Click the “Send” button.
* Tip: Check the “Project Editable” box to enable the recipient to add a Seating Chart or make edits to the floor plan, such as moving furniture around or changing colors of linens.
Print Floor Plan Images
- While in the view you want to print (2D Plan, 3D Walk or 3D Global), click on the “PRINT OR SAVE FLOOR PLAN” tab located on the left.
- Click on the bottom “CREATE” button.
- Name the image (for example: “2D View – Carroll Wedding”).
- Click the “Download” button.
- The image will now be saved to your computer.
- Open the saved image and print it (File → Print).
PDF the Inventory Page and Floor Plan
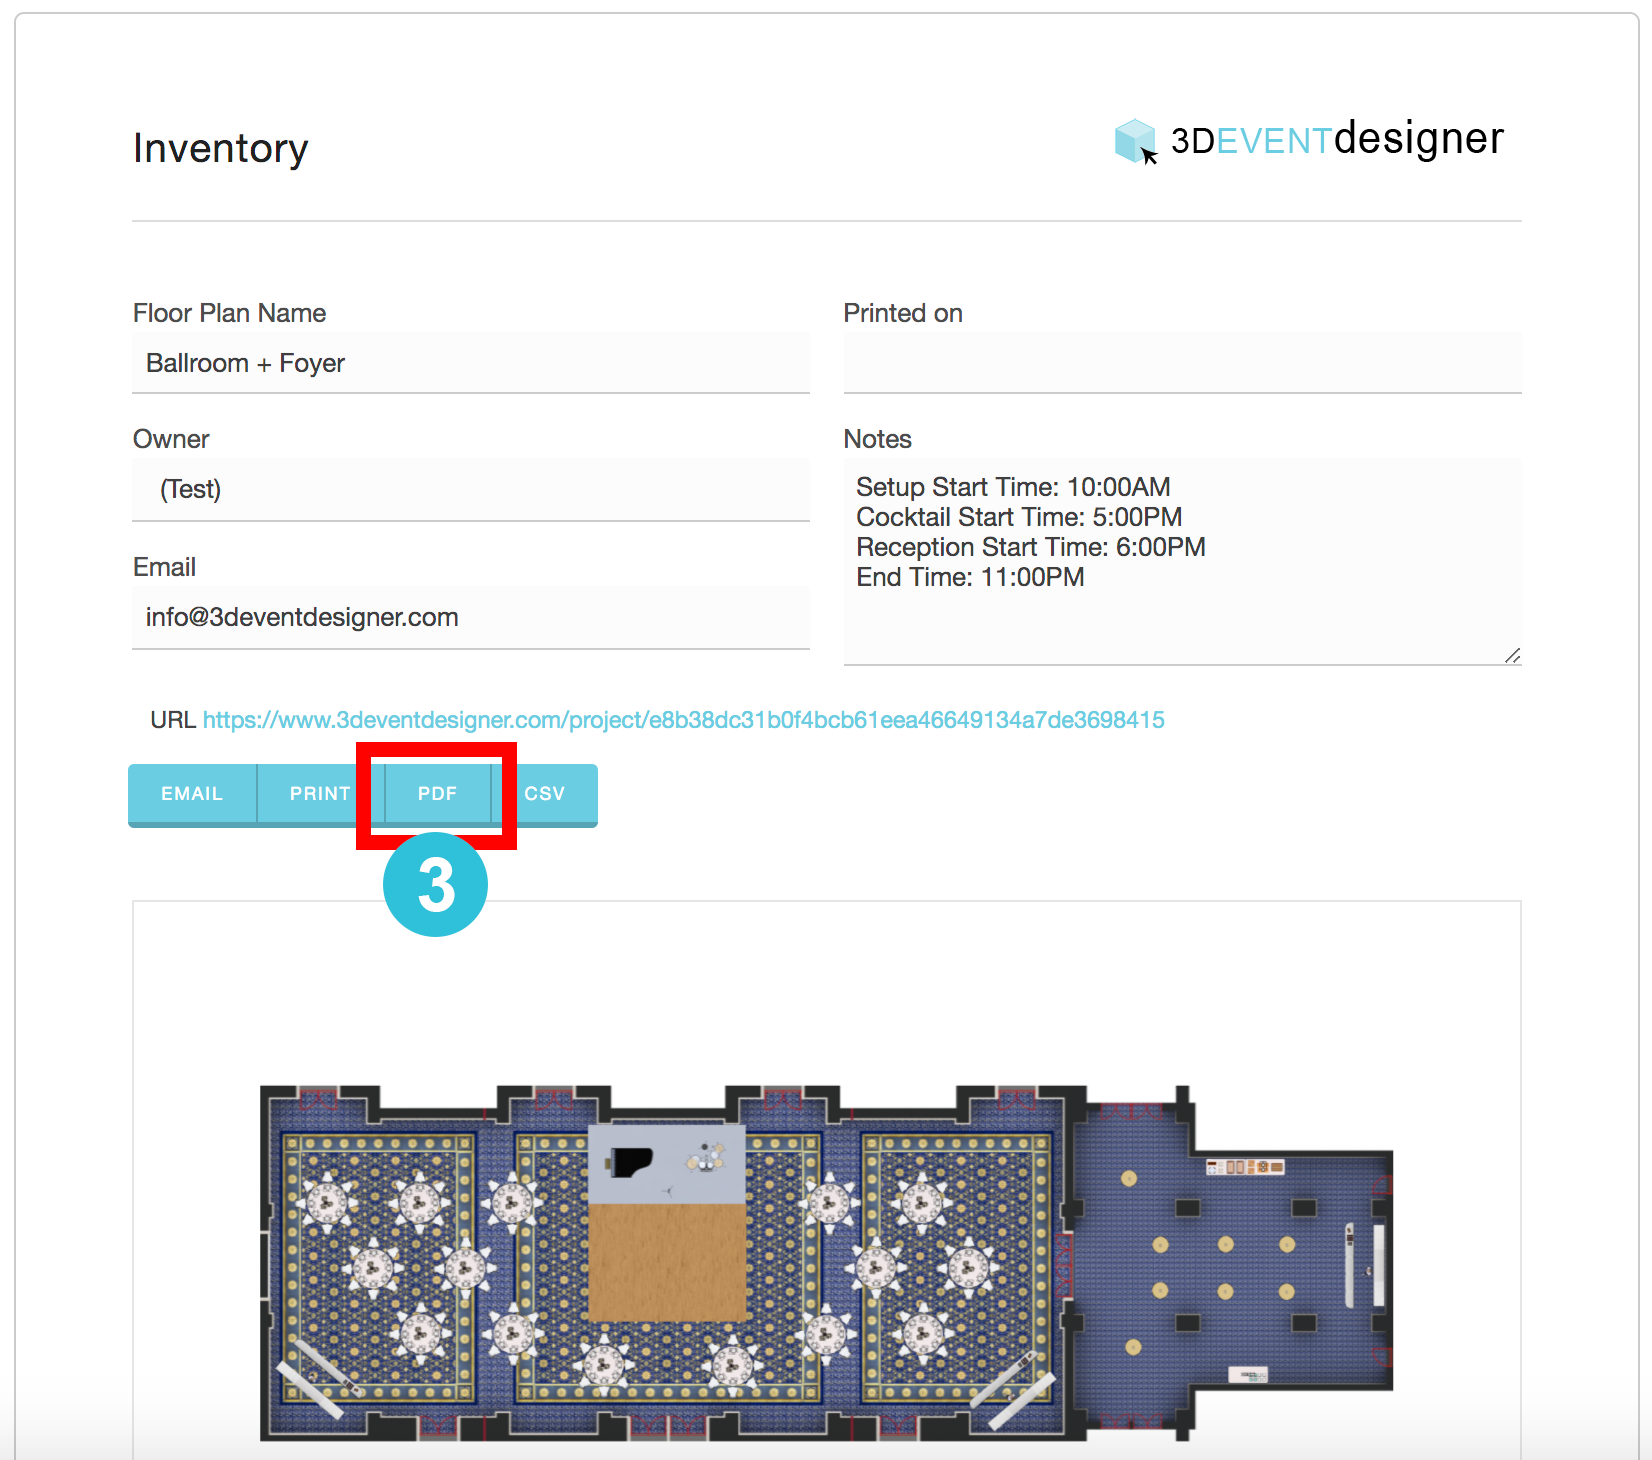
- Open the floor plan.
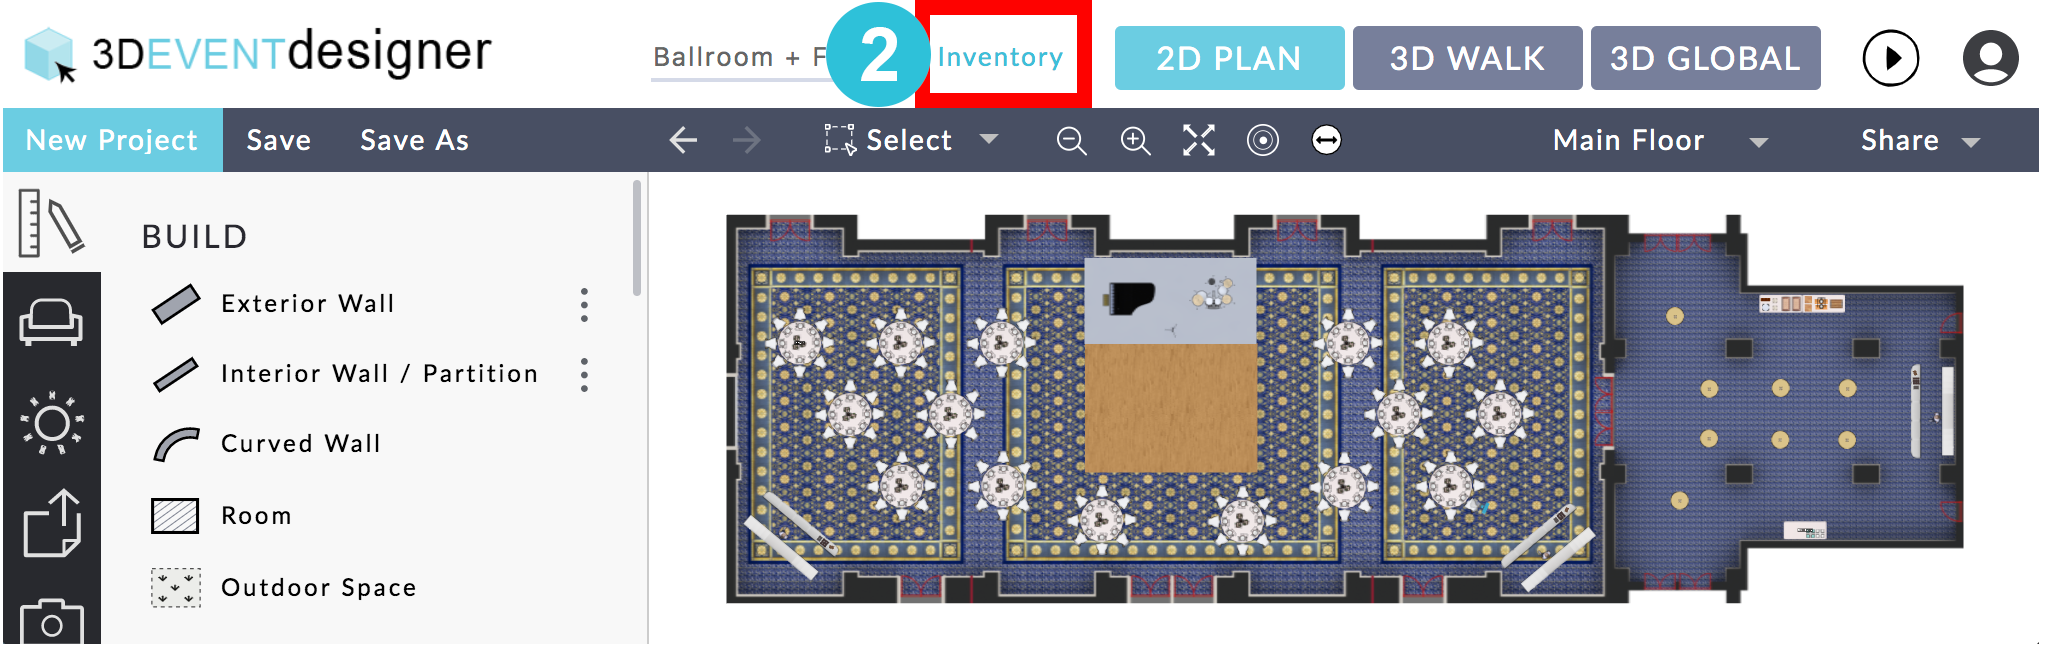
- Click on the "Inventory" link at the top of your floor plan.
- Click the "PDF" button. This will create a PDF of all information related to your floor plan (name, interactive link, images, inventory list with quantity of items, and Seating Chart if applicable).
Share or Print All Project information
- Start by saving any floor plan images you want to share. To do this:
- While in the view you want to save (2D Plan, 3D Walk or 3D Global), click on the “PRINT OR SAVE FLOOR PLAN” tab located on the left.
- Click on the bottom “CREATE” button
- Name the image (for example: “2D View – Carroll Wedding”).
- Click the “Save” button and the image is then saved to the “Inventory Document”.
- Repeat steps 1-4 for all images you want to share.
- Add any Event Details you want to share. To do this:
- Click on the "SETTINGS" tab located on the left.
- Scroll to the bottom and in the "Floor Plan Notes" field, input all event details.
- If a Seating Chart is applicable to this floor plan, add one. To add a Seating Chart click HERE to see how.
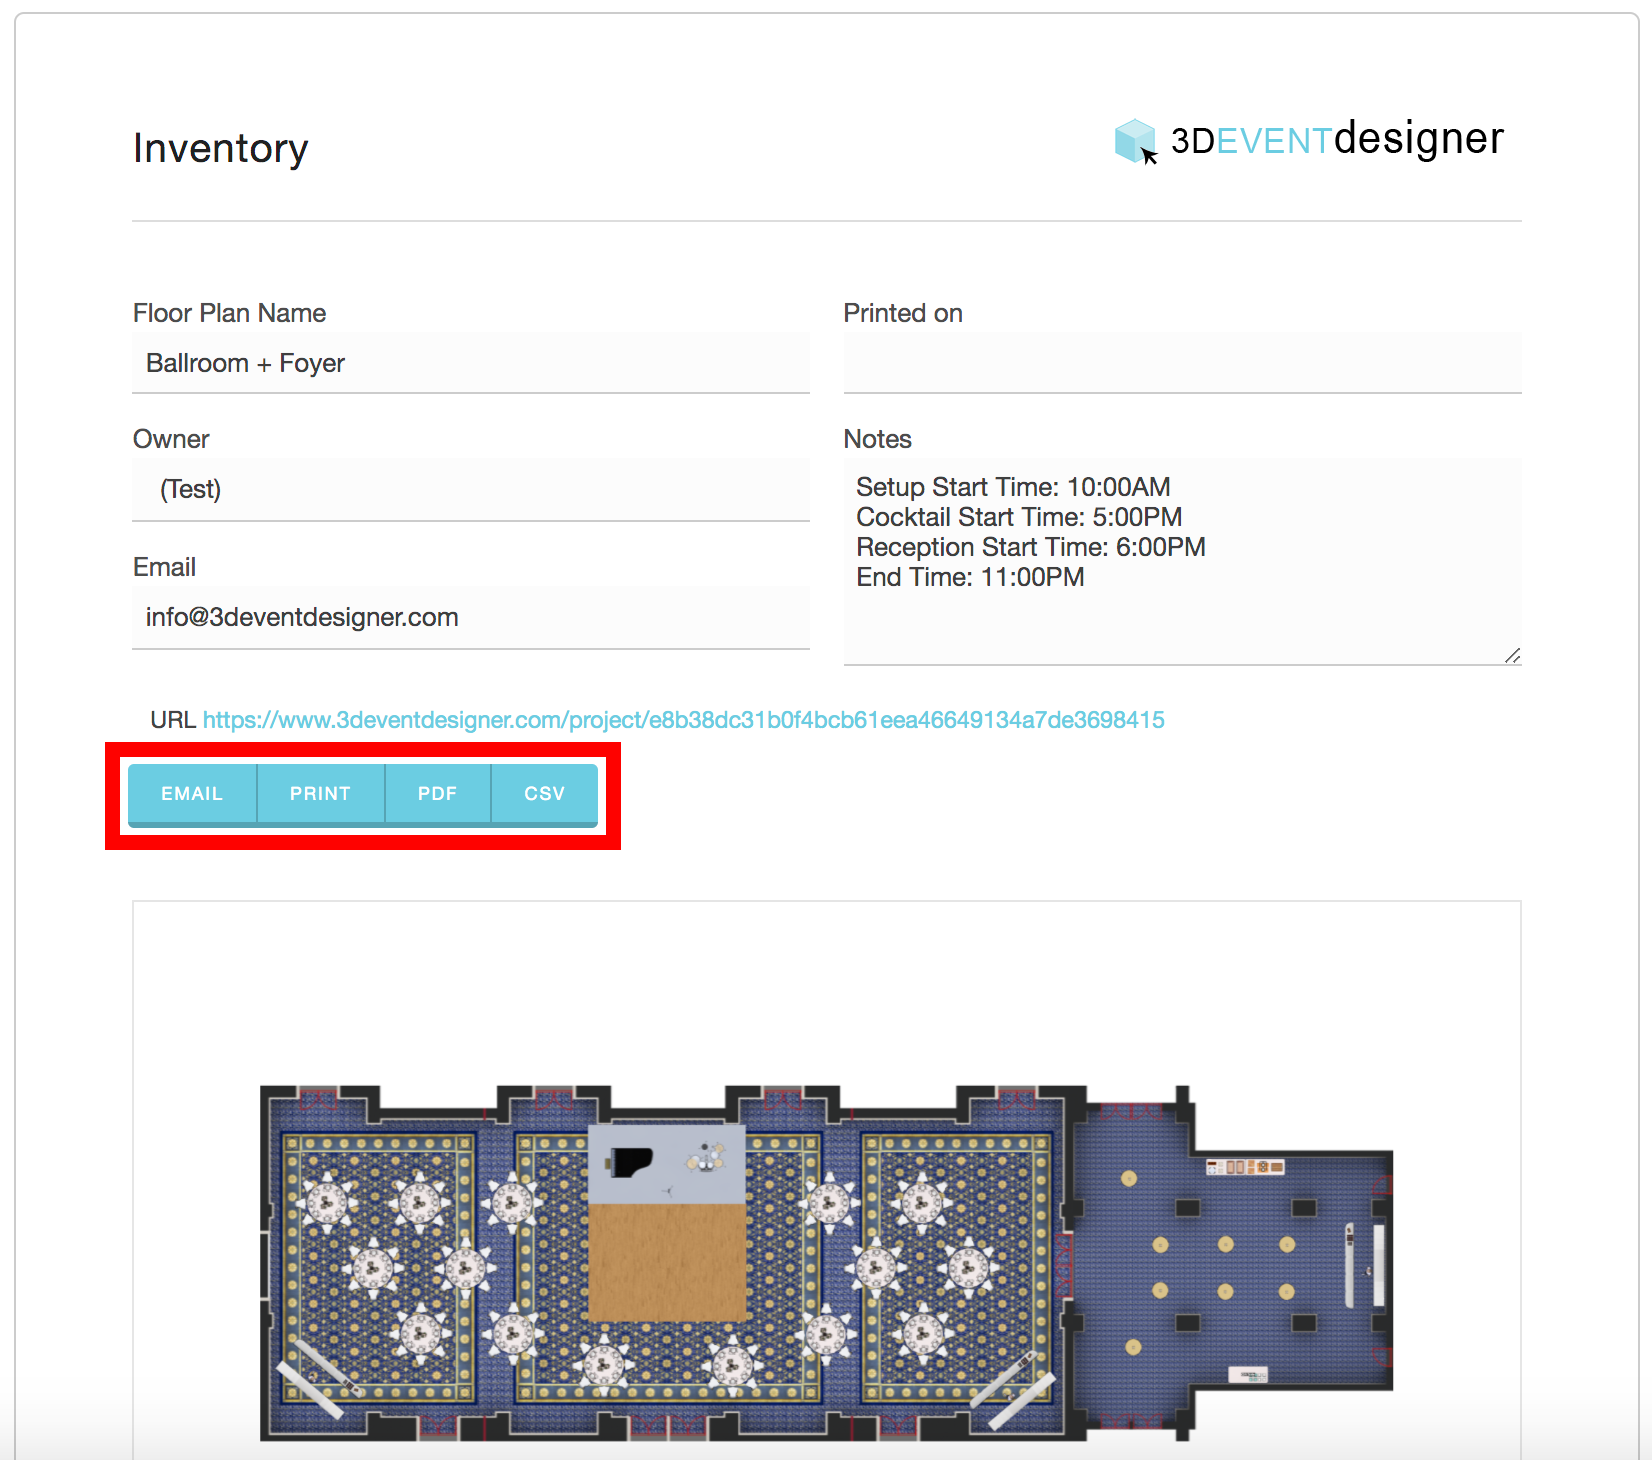
- Click on the "Inventory" button located in the upper right of your screen. The Inventory Document will auto-populate with all floor plan information (includes Floor Plan Name, Event Details, Project URL, Floor Plan Images, Item Quantity List and Seating Chart if applicable).
- Select the Print, Email or PDF button to export the desired file type.